-
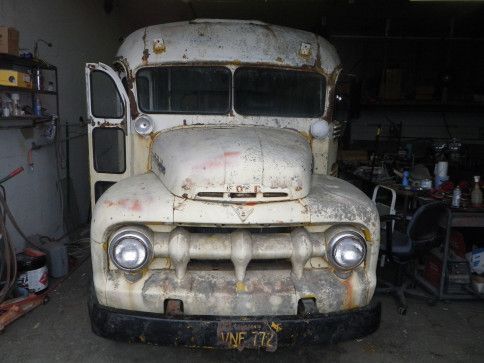
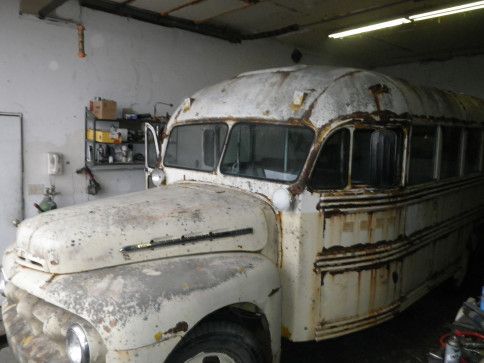
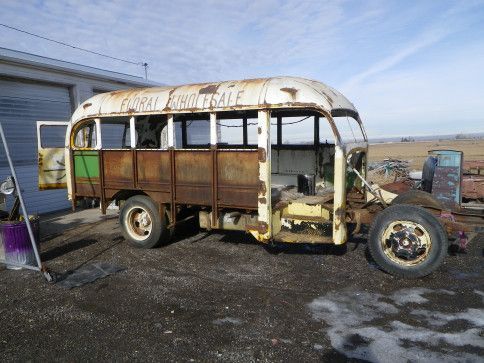
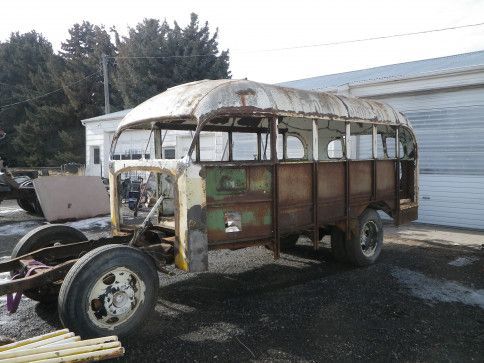
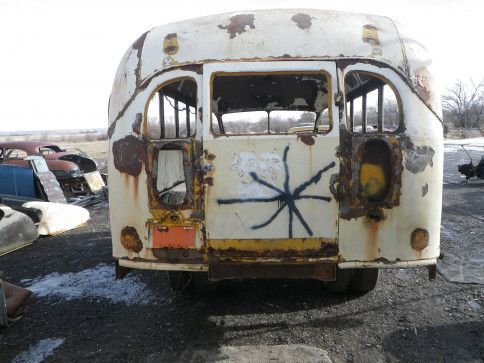
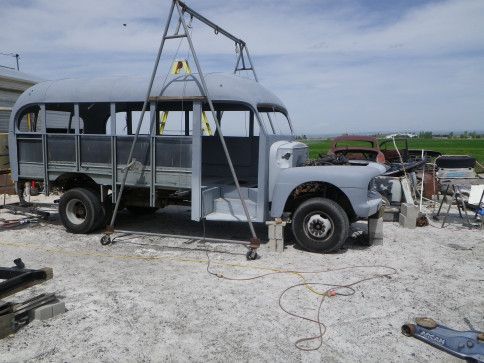
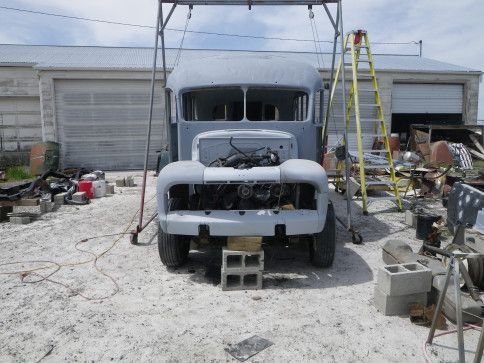
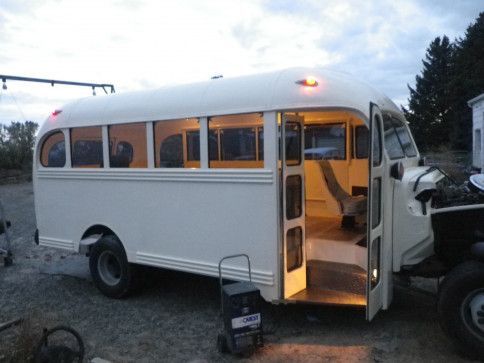
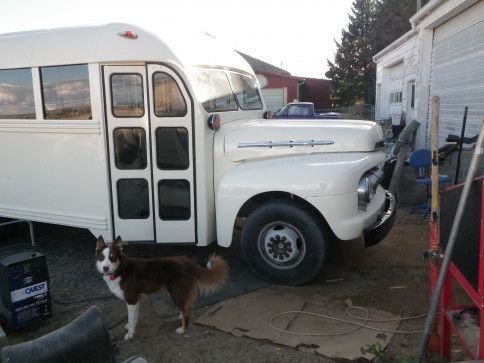
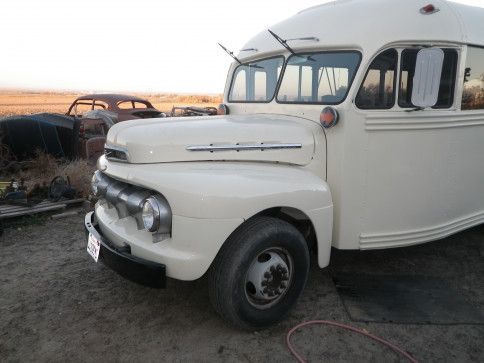
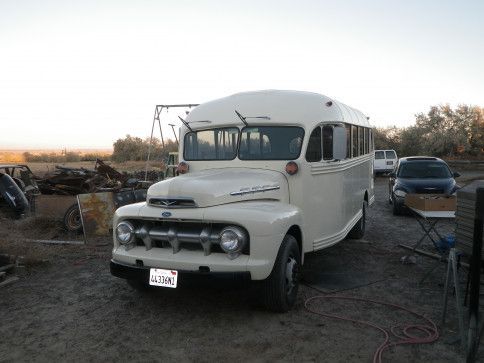
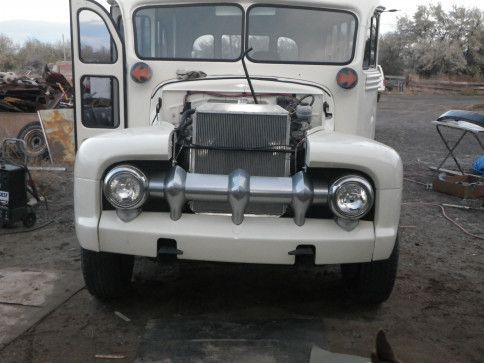
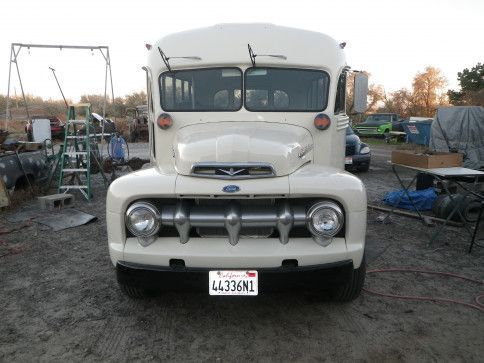
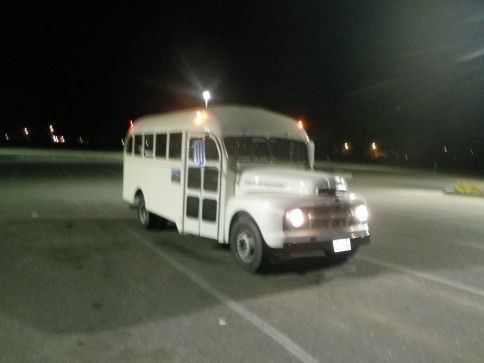
1951 Ford school bus on delivery day
Button -
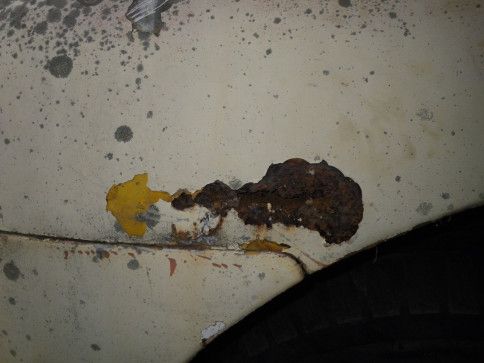
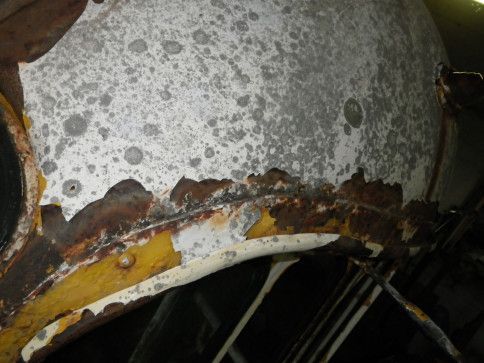
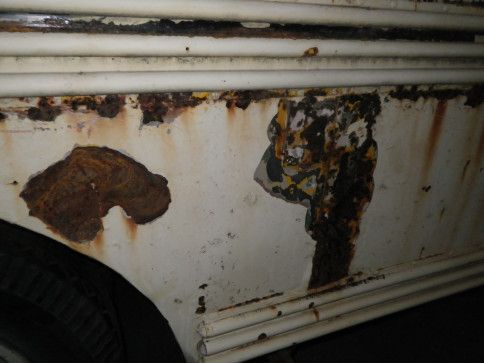
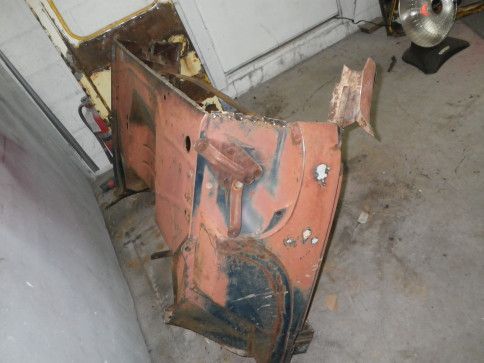
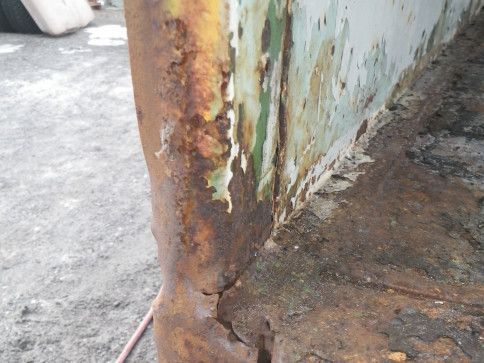
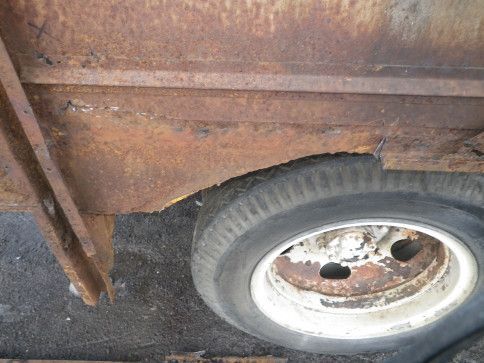
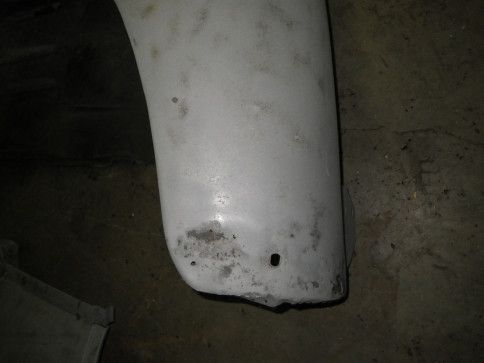
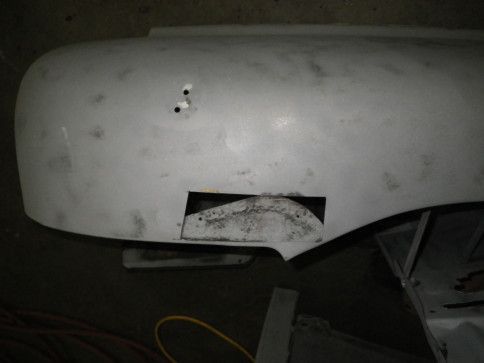
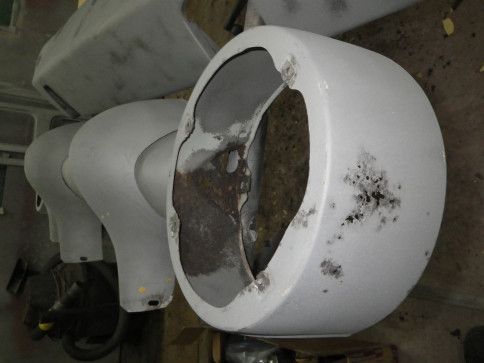
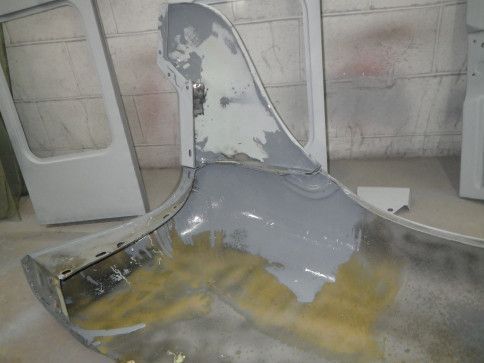
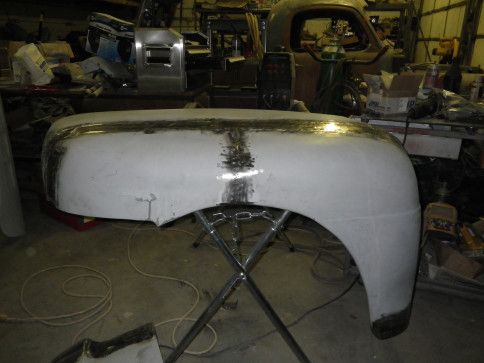
rusty fender to be replaced
Button -
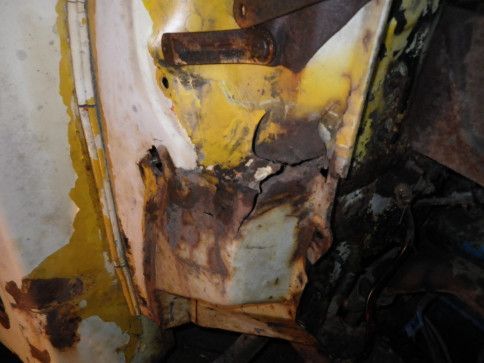
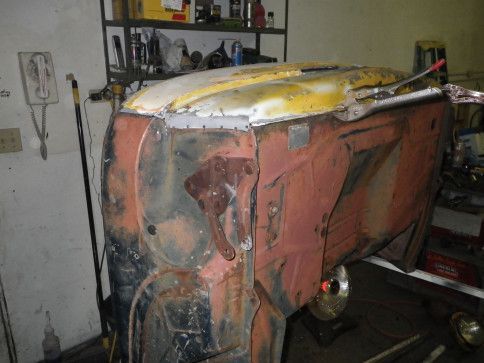
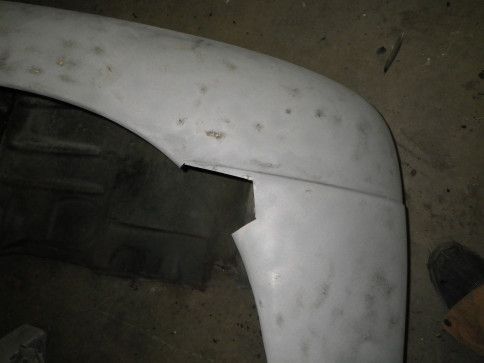
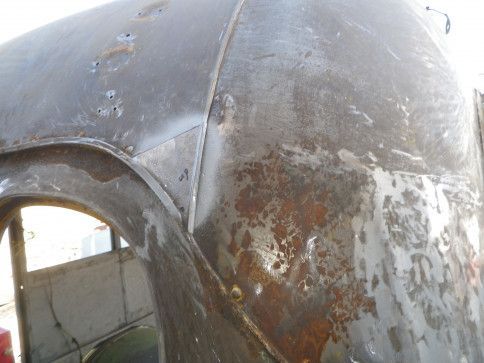
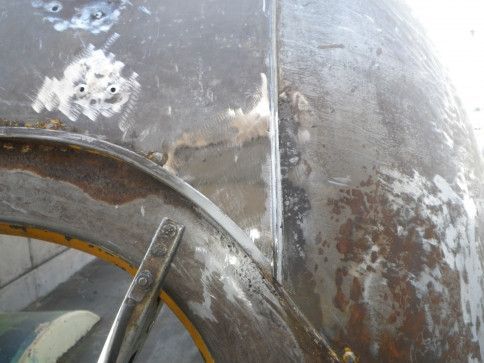
cowl area to be repaired
Button -
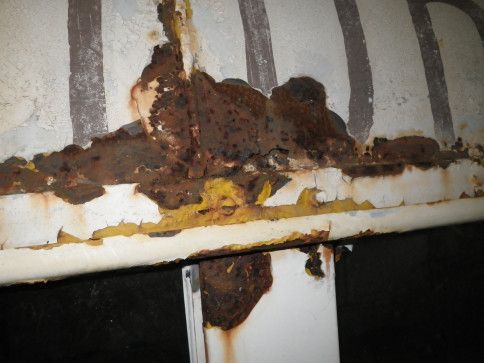
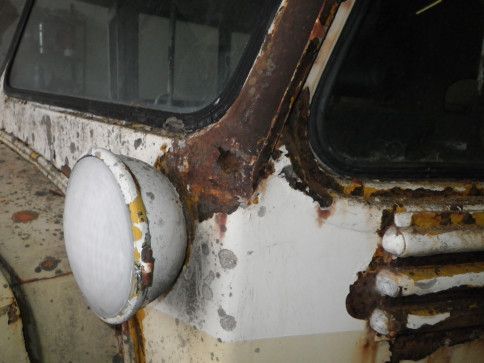
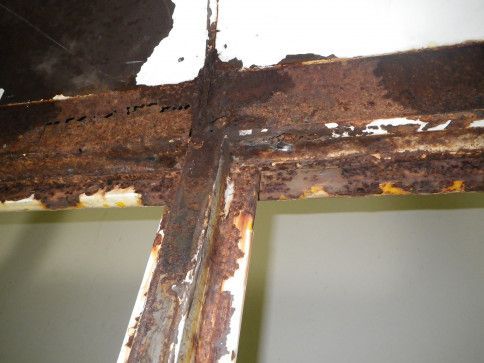
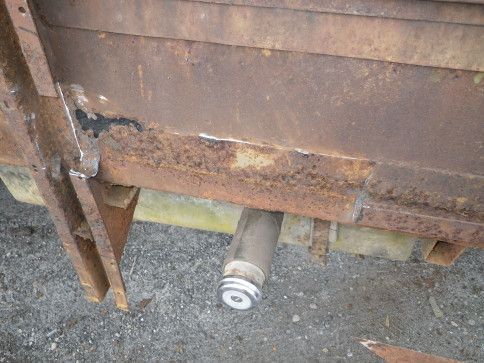
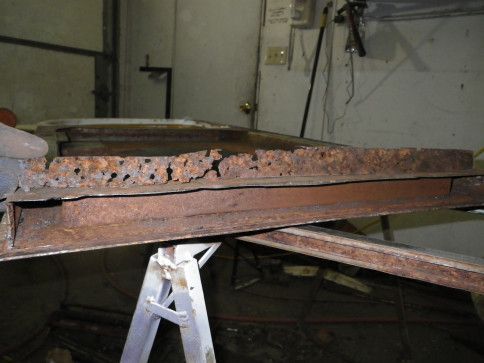
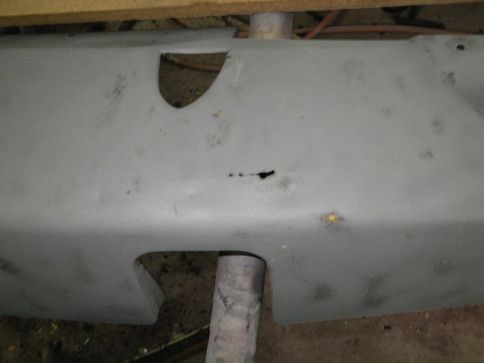
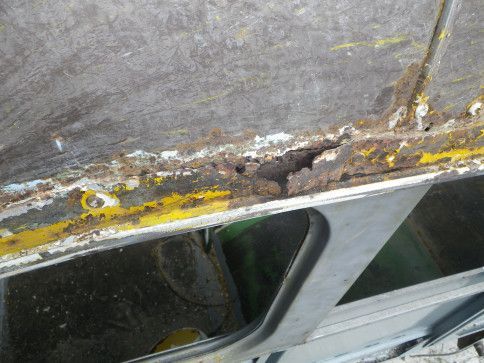
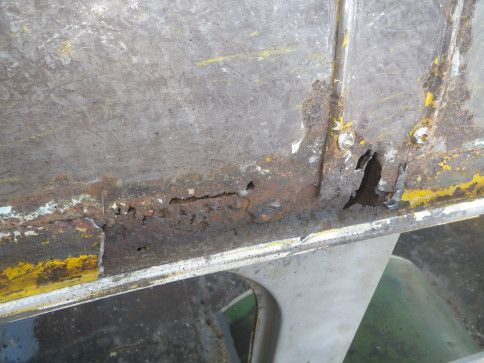
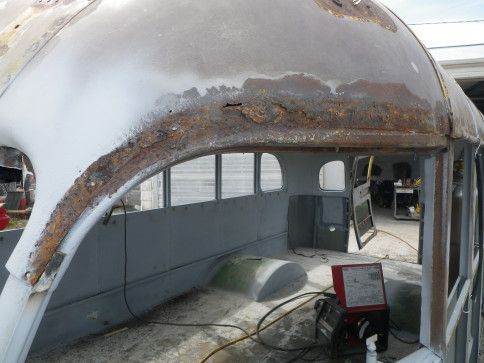
rust damage in rain gutter
Button -
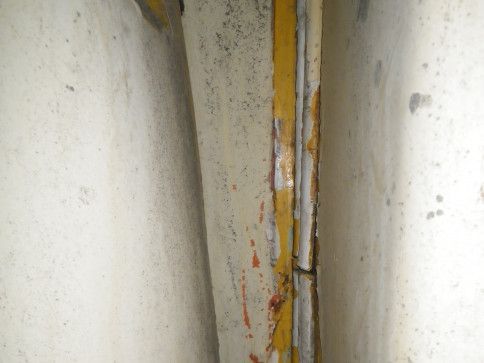
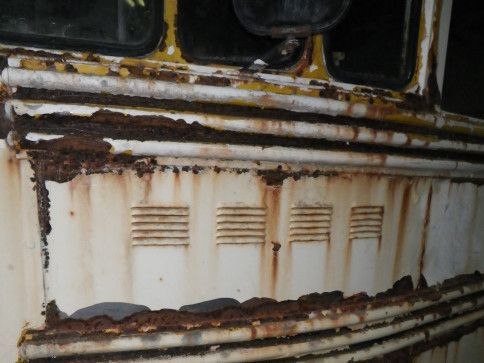
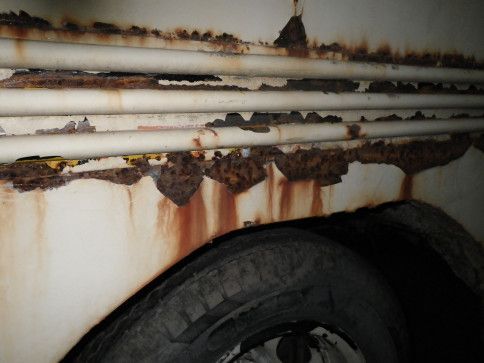
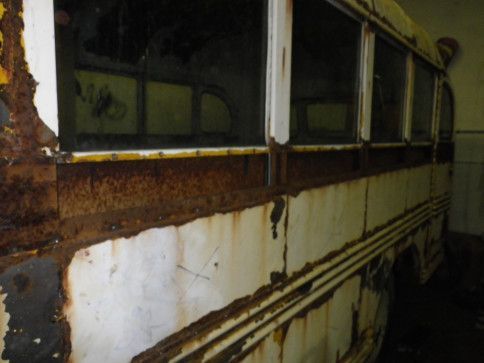
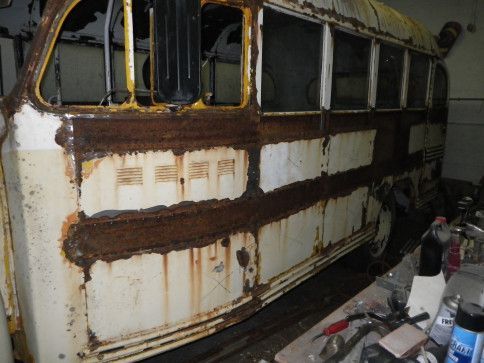
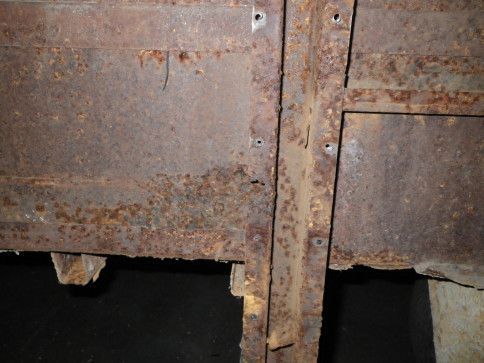
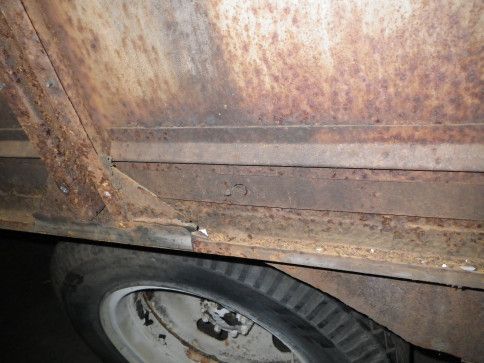
lots of rust around side moldings
Button -
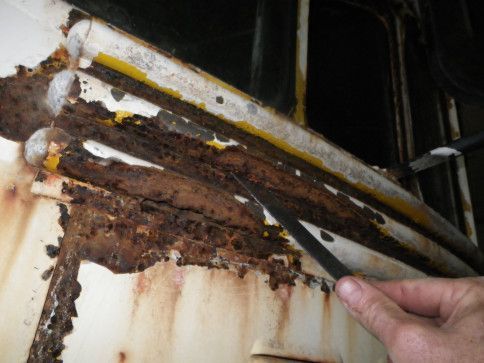
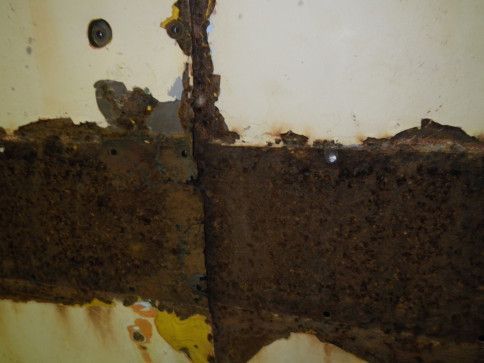
rust holes thru top molding
Button -
more rust
Button -
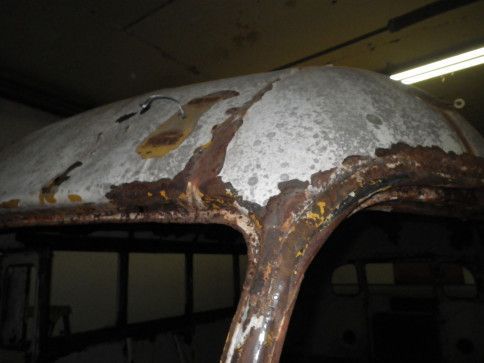
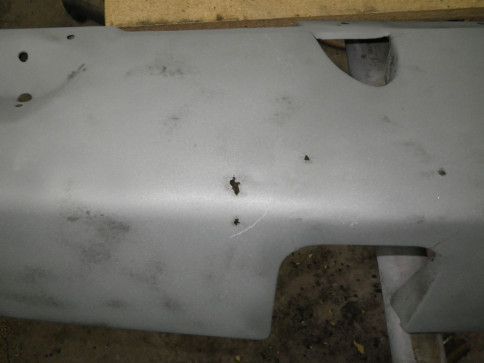
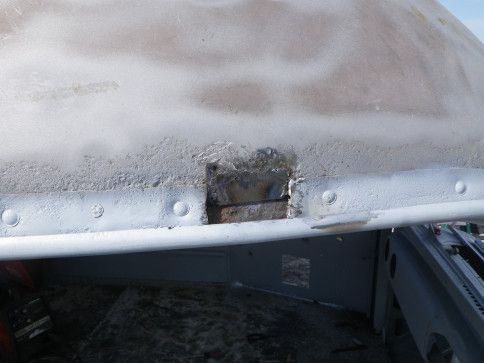
one rust hole in roof
Button -
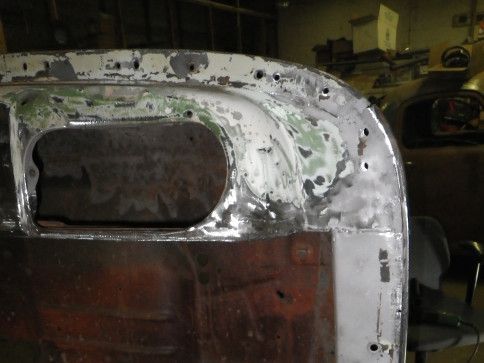
rust and damage in passenger cowl
Button -
over 100 rivets to remove top molding
Button -
removal of 2nd molding, I hate rivets
Button -
rust holes thru sheet metal under moldings
Button -
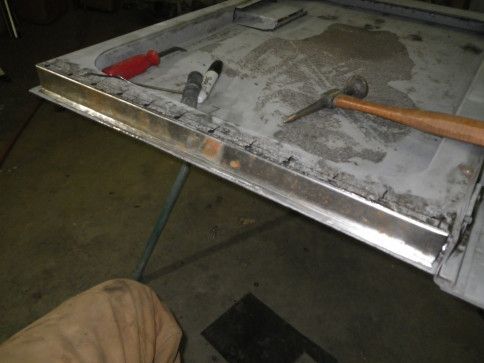
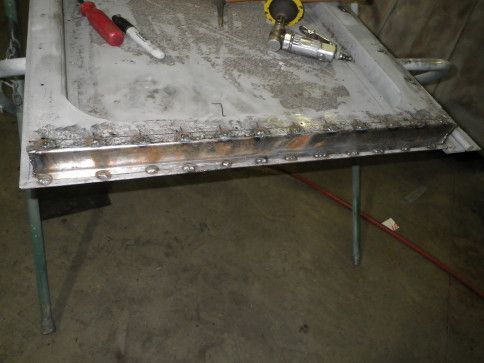
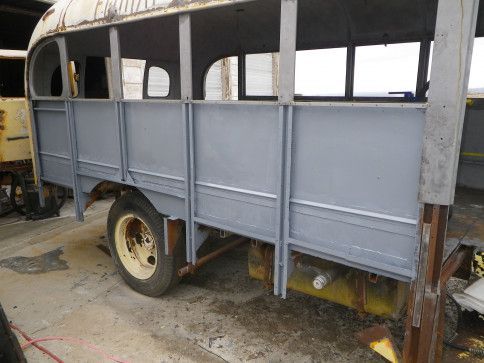
removal of sheet metal will replace with new. Did I mention I hate rivets, almost 400 on this side.
Button -
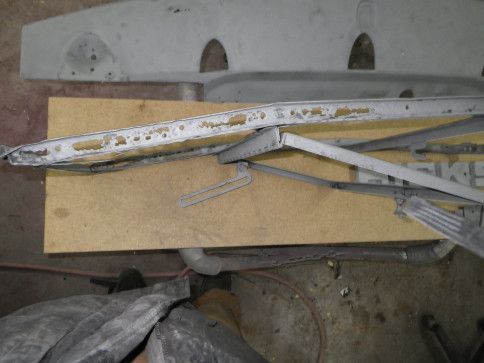
some rust damage of inner bracing to be repaired
Button -
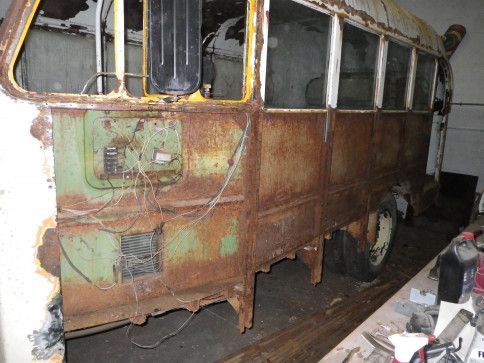
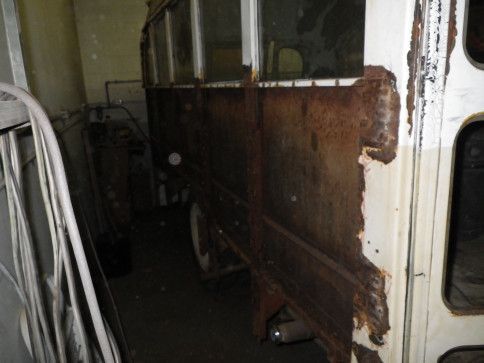
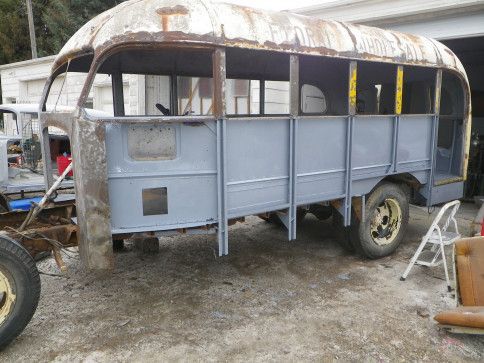
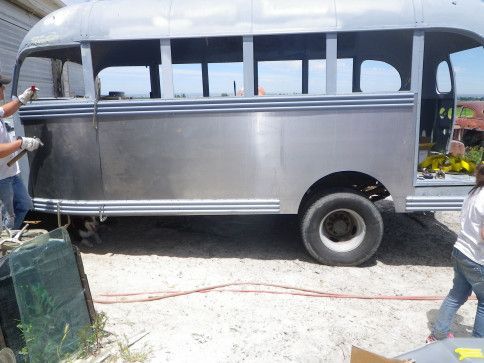
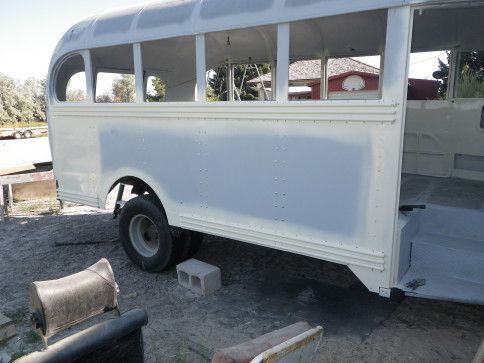
Passenger side is stripped
Button -
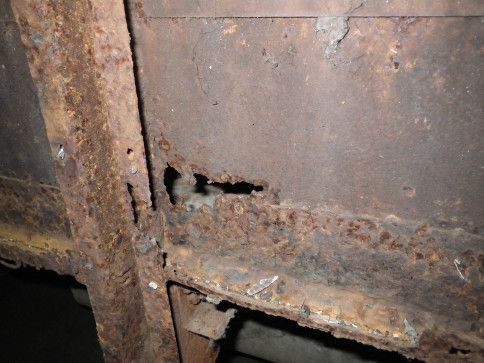
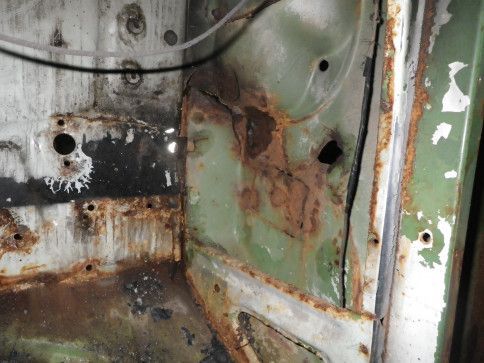
rust holes thru to the inside
Button -
passenger side has twice the rust as drivers side
Button -
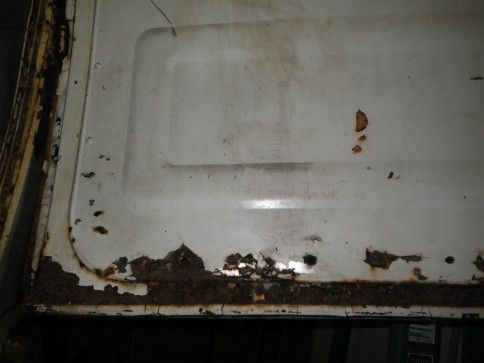
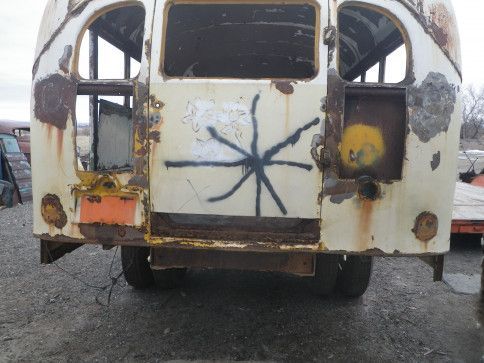
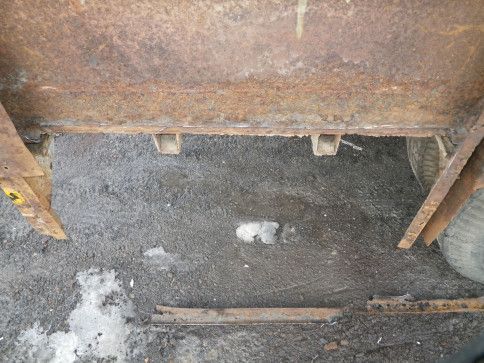
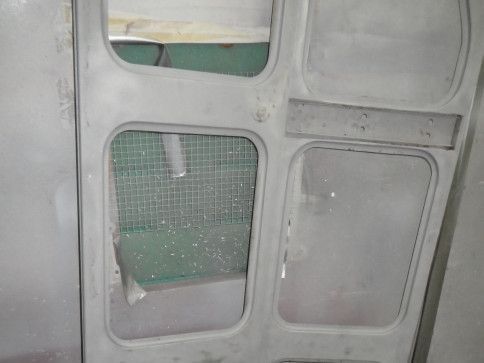
Bottom of rear door has rust coming thru, will replace
Button -
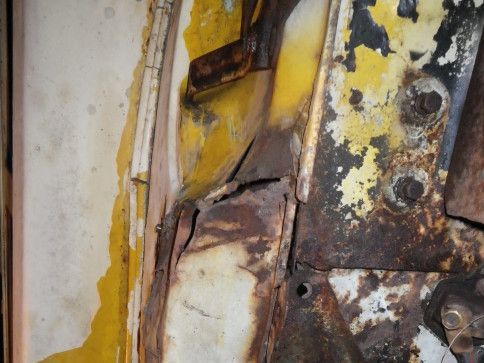
Right front was wrecked at some point, fender replaced, but damage to cowl was not repaired correctly which resulted in a lot of stress cracks
Button -
Will replace whole cowl with straight rust free one, cheaper than to repair.
Button -
stress cracks on left side as well.
Button -
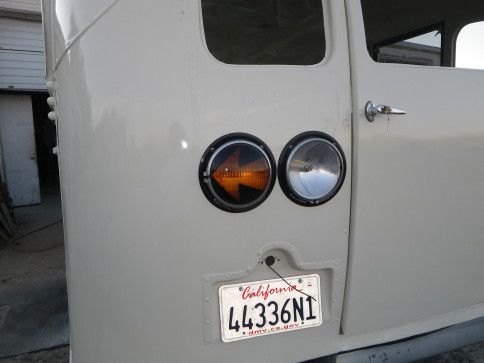
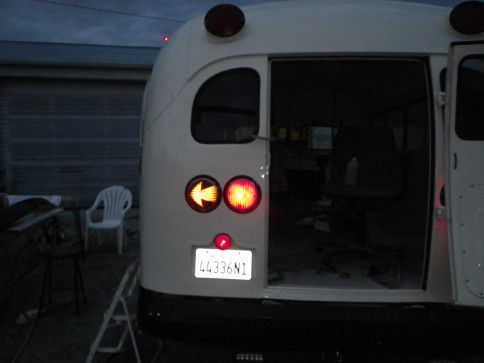
Ugly sheet metal panels holding tail lights.
Button -
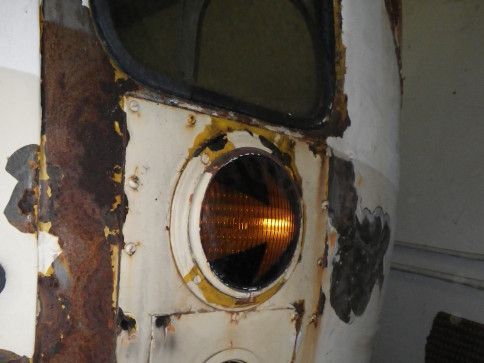
Even tail light housings are rusted thru.
Button -
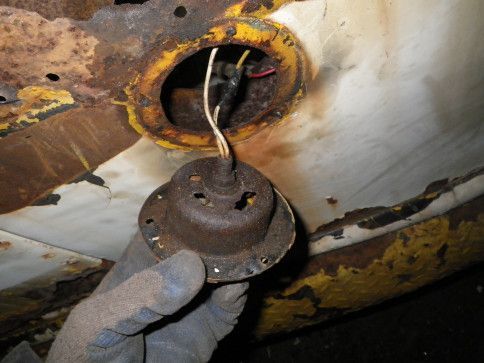
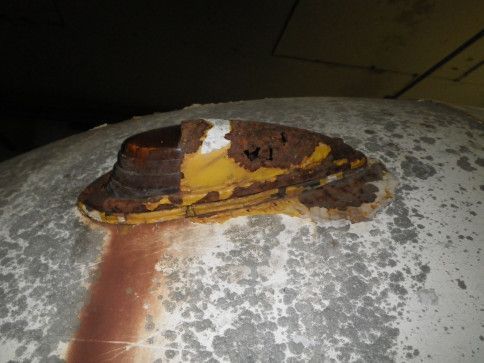
roof lights rusty, found replacements
Button -
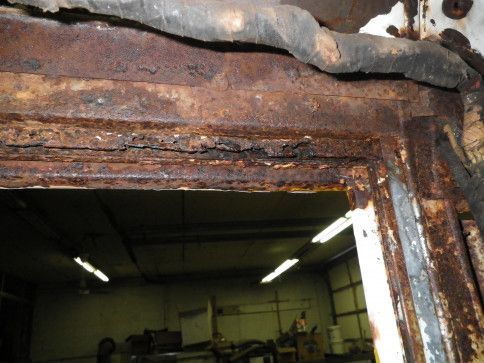
All top window channels need replaced
Button -
poor repair of step damage, will replace
Button -
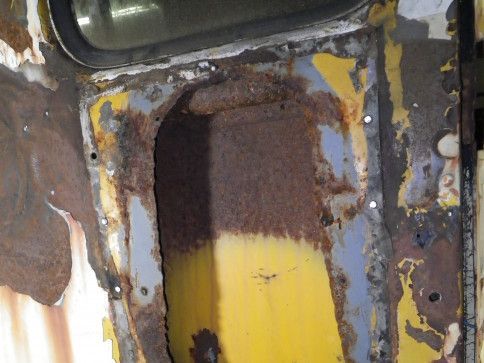
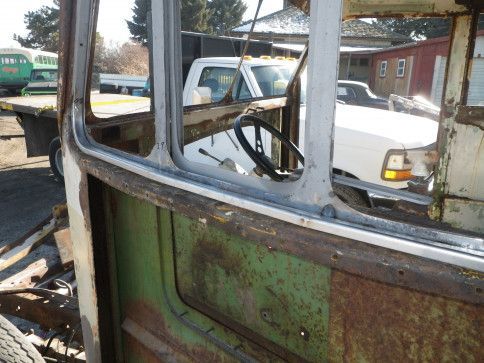
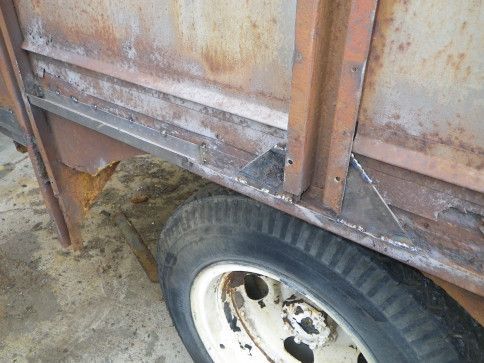
window frame rust holes
Button -
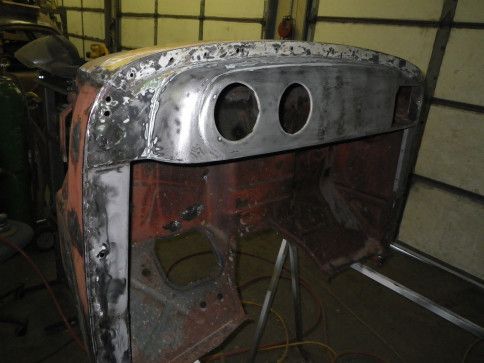
new, rust free cowl almost ready to swap
Button -
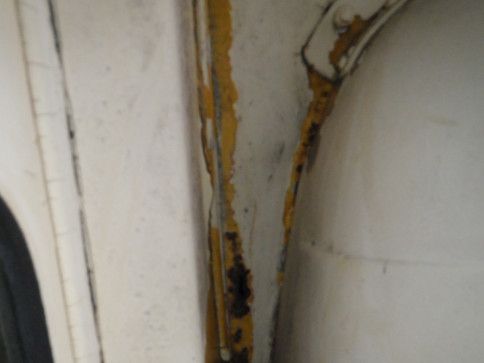
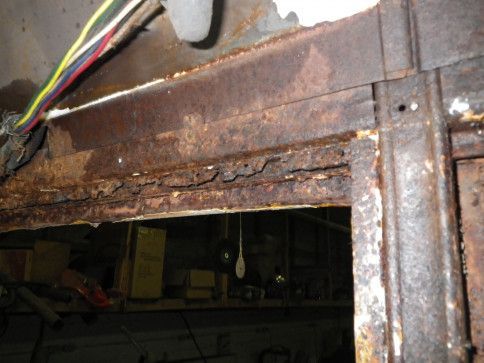
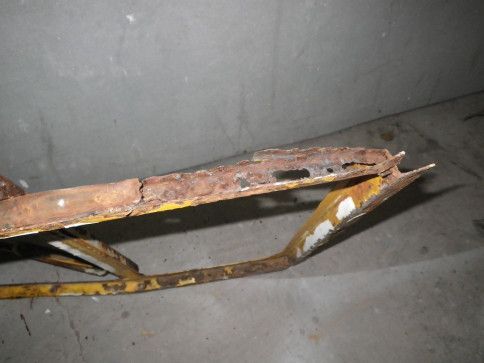
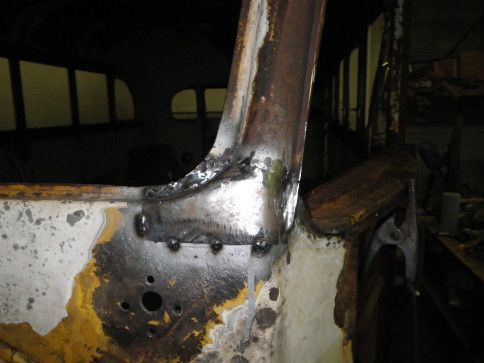
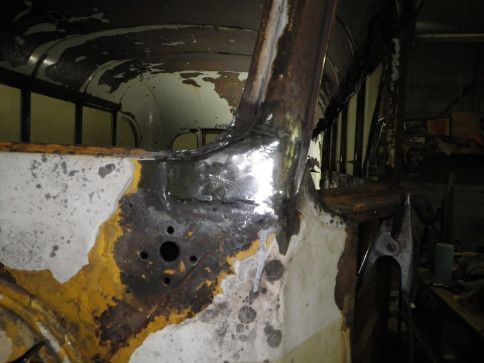
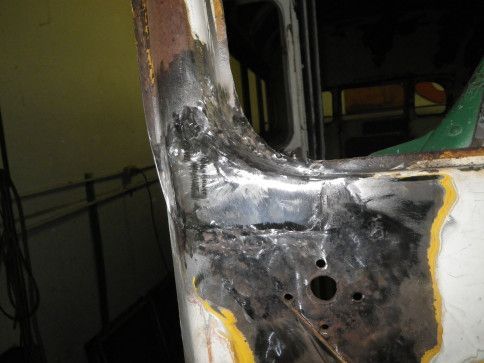
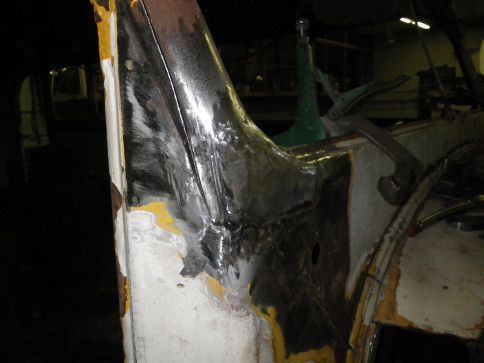
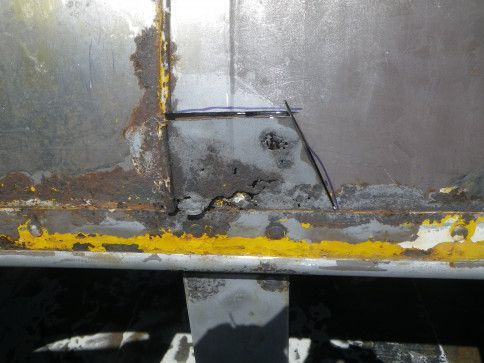
rust holes in both windshield posts
Button -
First brace repaired
Button -
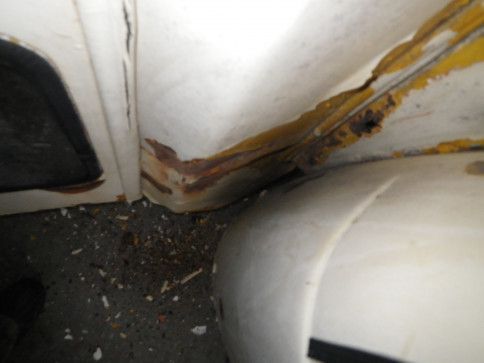
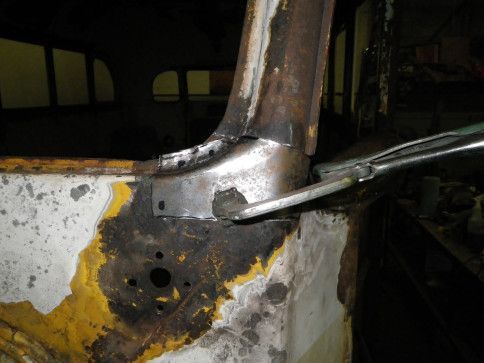
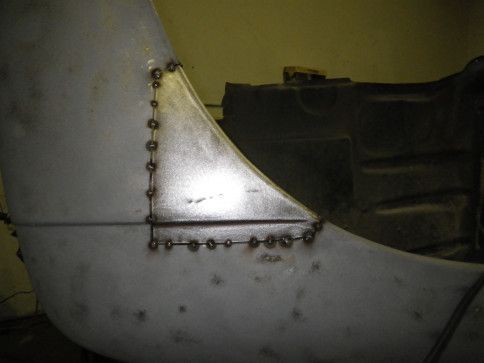
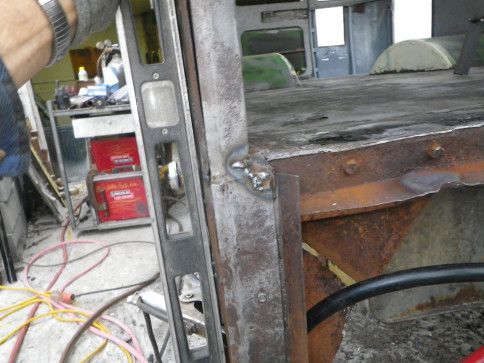
repairing lower windshield corner
Button -
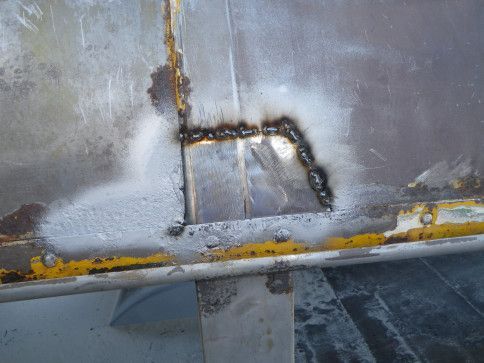
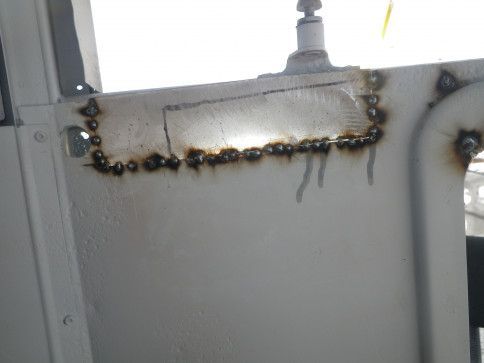
Tack welding
Button -
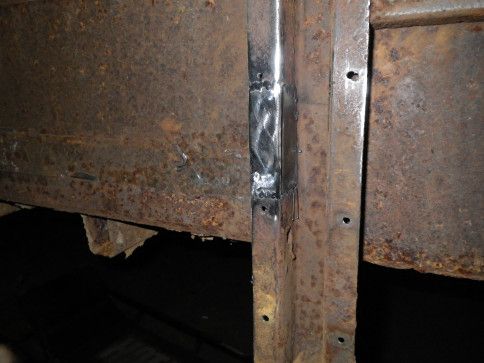
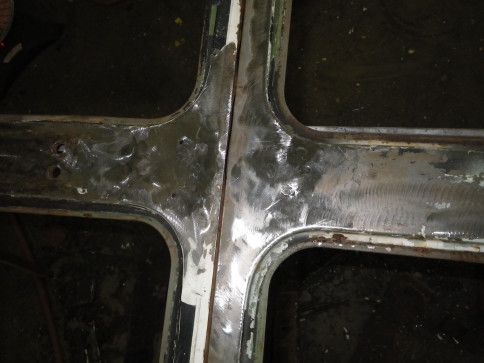
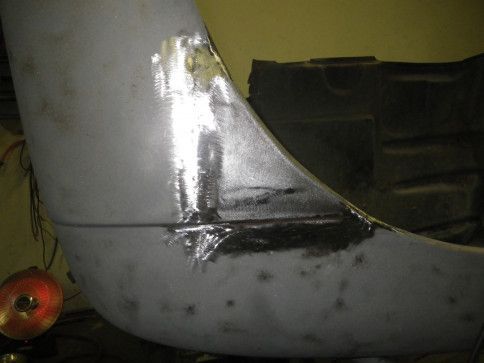
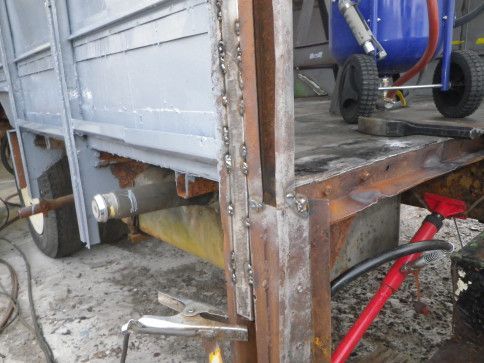
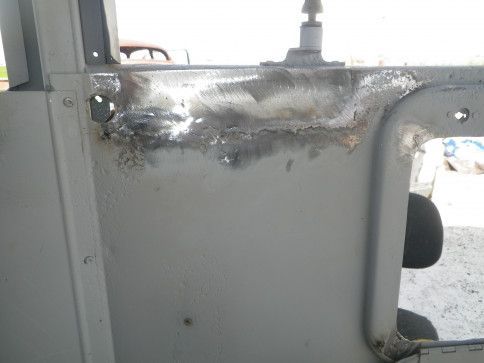
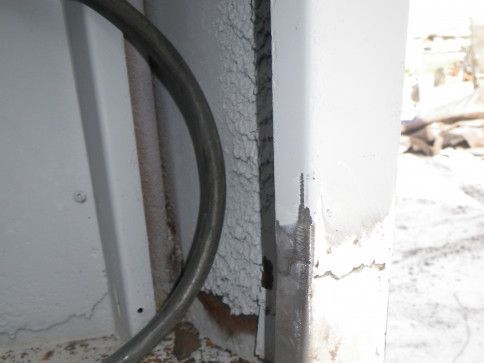
finish welded and ground smooth
Button -
More rust...
Button -
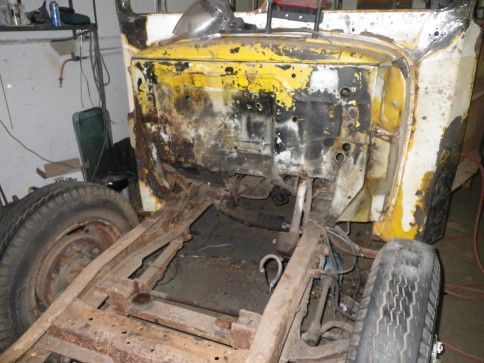
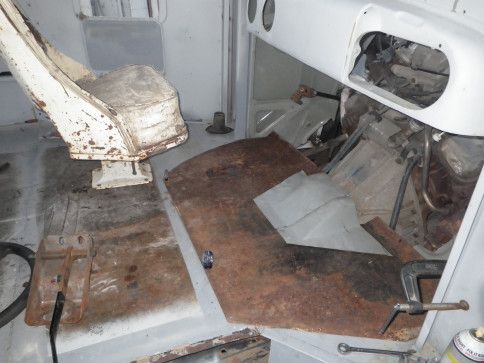
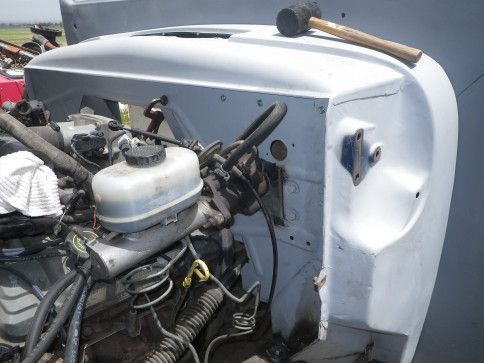
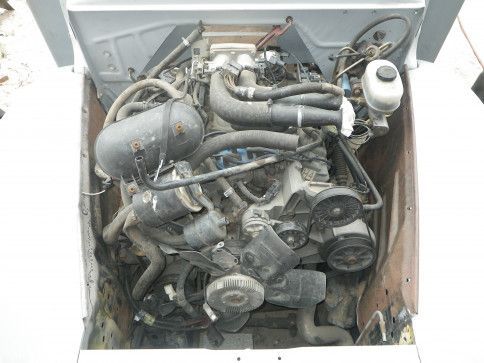
Engine out
Button -
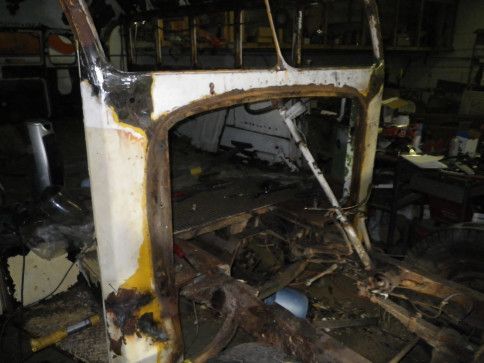
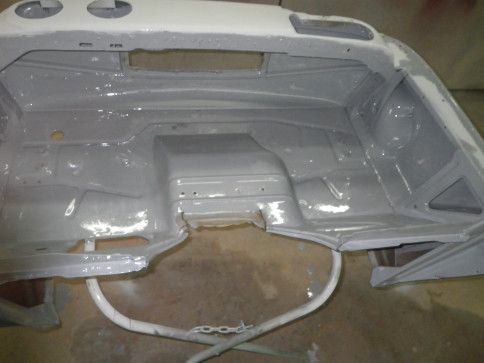
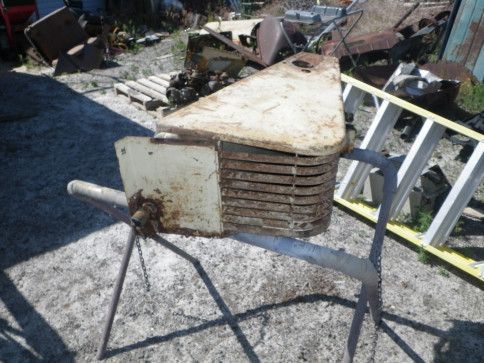
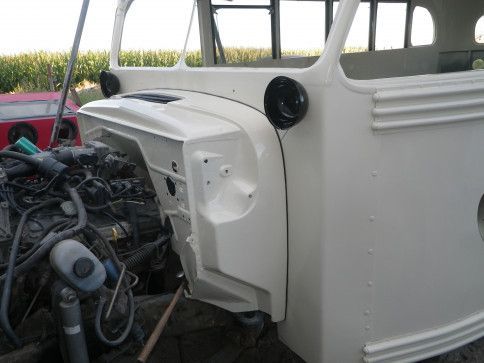
Cowl removed for repairs
Button -
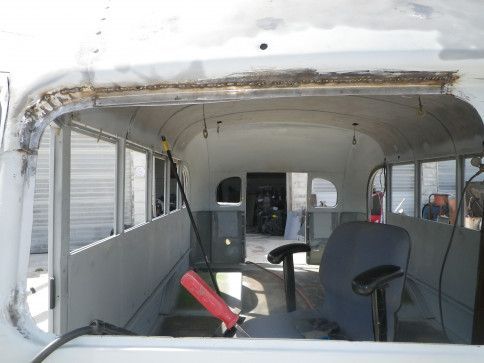
This is the worst it will look, no where but up now.
Button -
To most it looks like a lost cause.
Button -
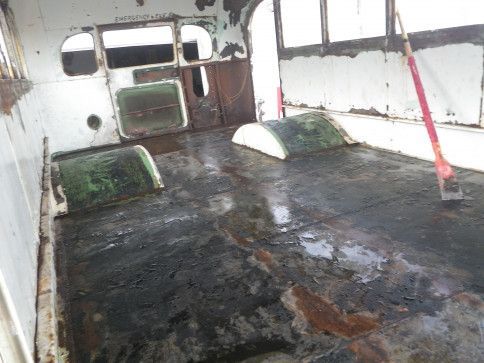
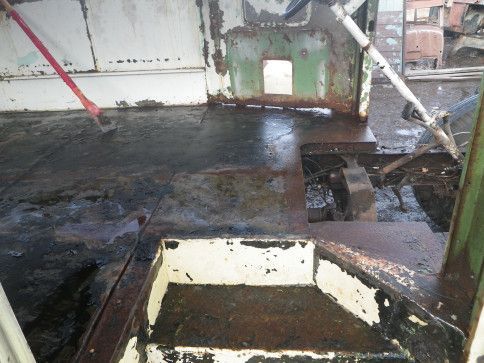
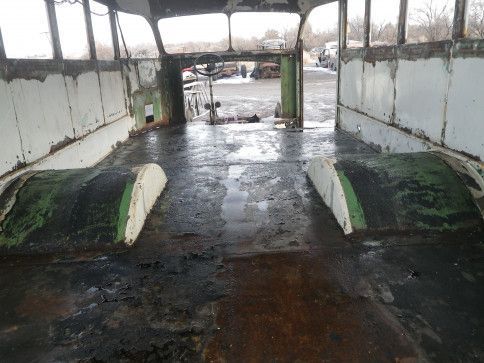
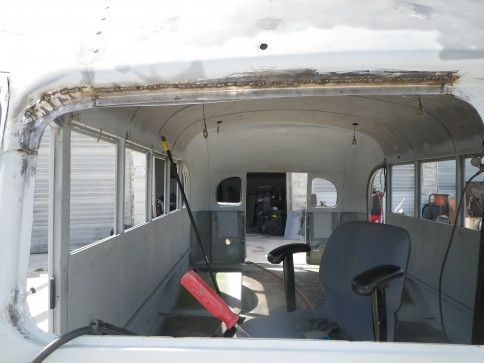
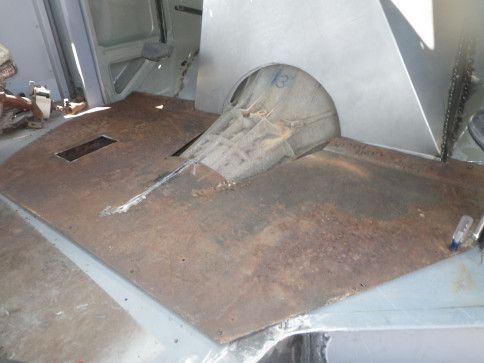
Hardest part was removing the glued in flooring
Button -
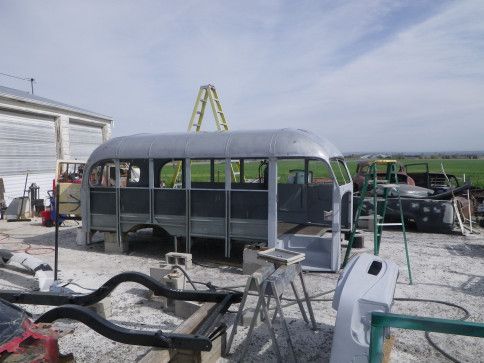
Sand blasting the whole body is next, inside and out.
Button -
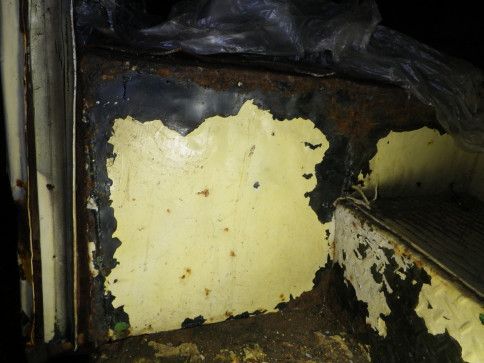
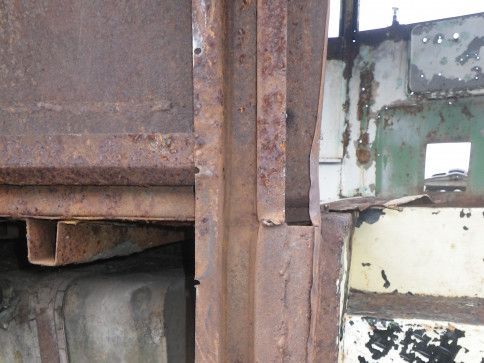
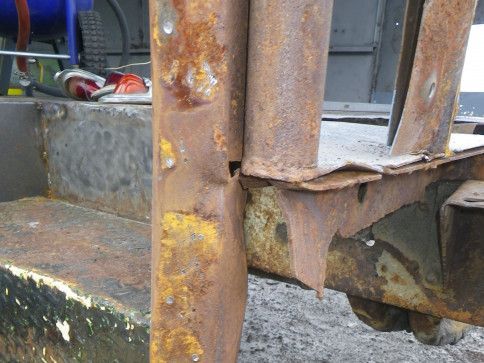
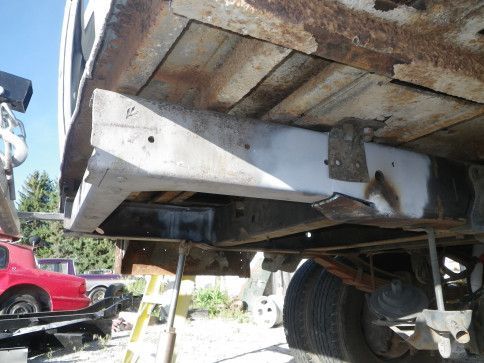
brace behind step is torn, bent and twisted
Button -
More of the crack by the step
Button -
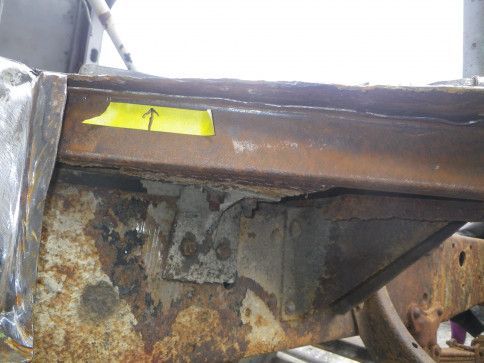
Removing bracing that needs repaired before sand blasting
Button -
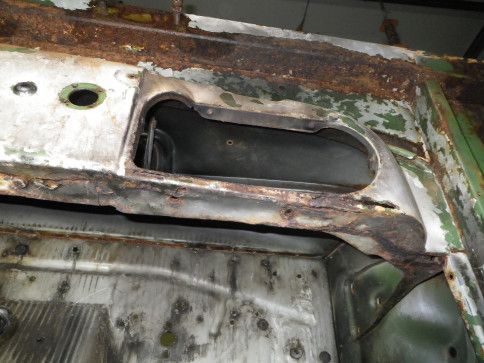
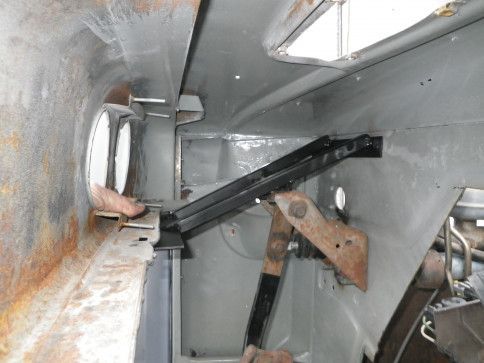
Bottom of dash under glove box door is rusted thru
Button -
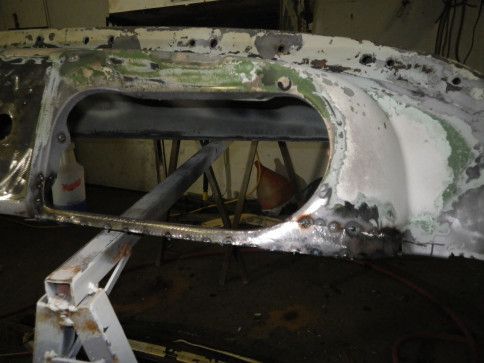
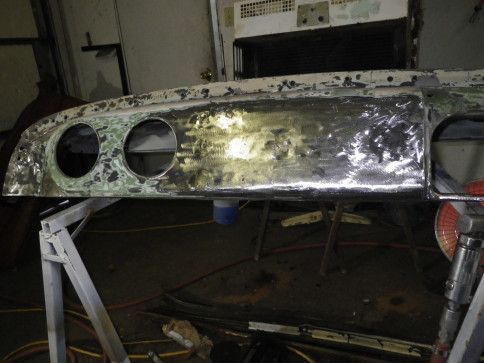
Starting the dash repair
Button -
Start filling holes
Button -
Rust is repaired, a few more holes to fill
Button -
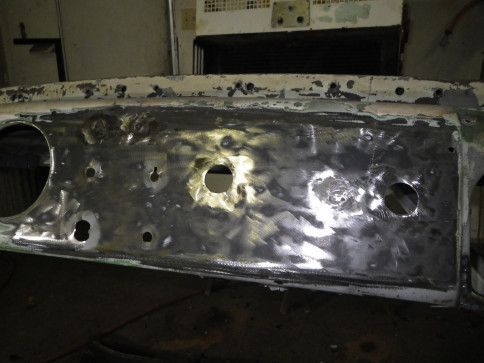
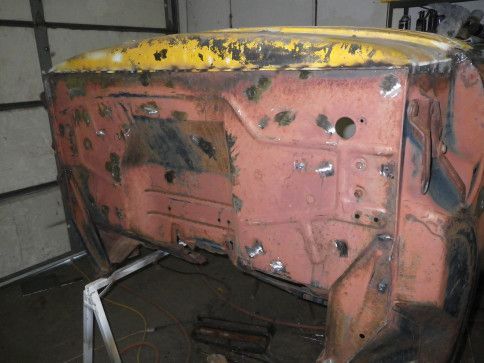
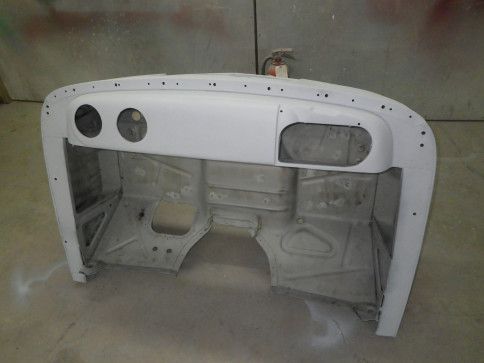
All holes filled in dash.
Button -
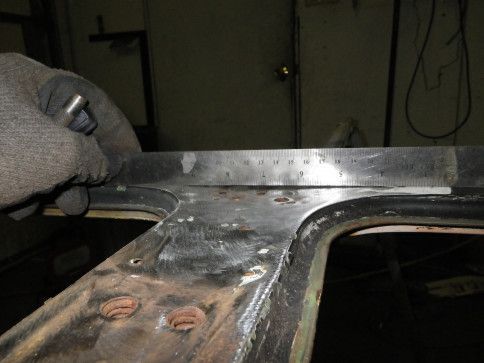
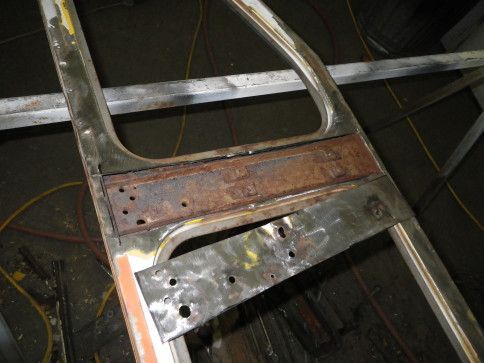
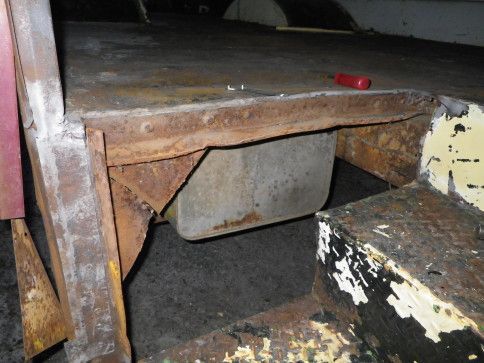
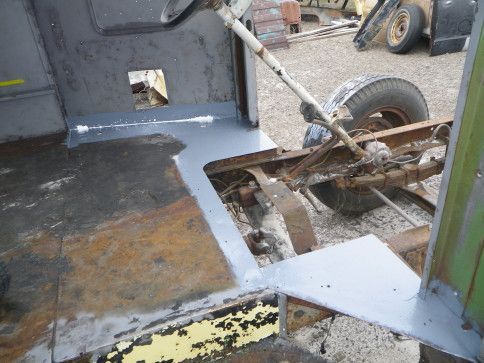
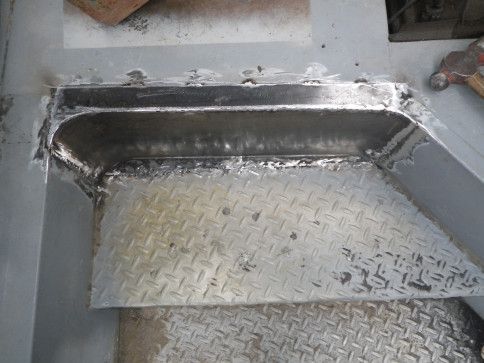
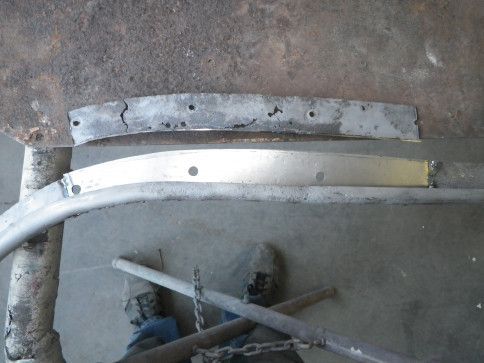
Bottom of cowl mounting plate rusted away, will replace about 10 inches, start with flat steel.
Button -
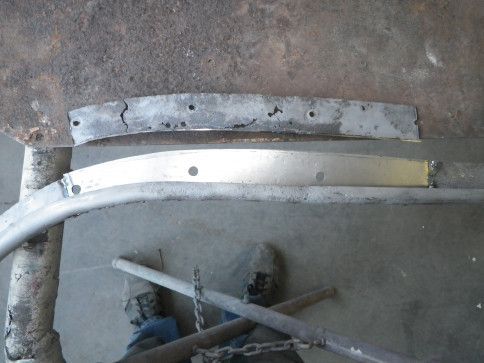
Steel bent to shape
Button -
Plate is welded and inserted for test fit, alignment is very important.
Button -
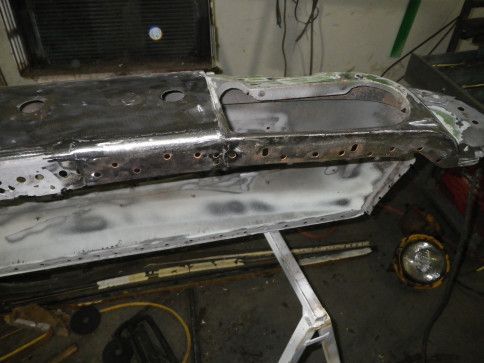
First test fit of dash and top of cowl
Button -
All welded together
Button -
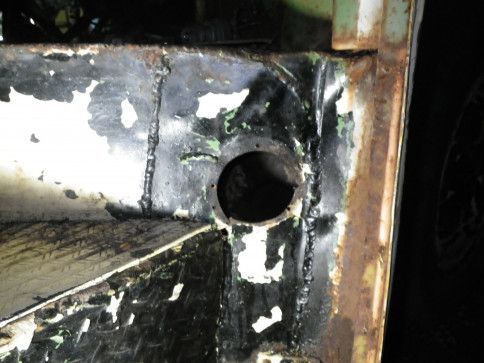
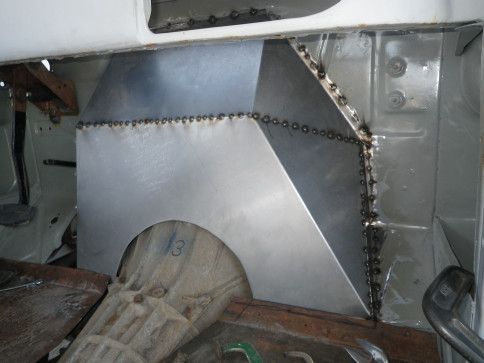
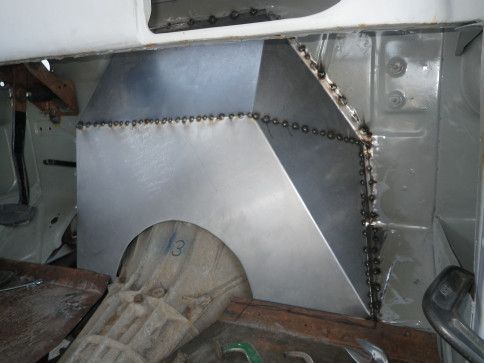
All extra holes in firewall have been welded shut and ground smooth.
Button -
Starting to fix all the dents and holes in front doors.
Button -
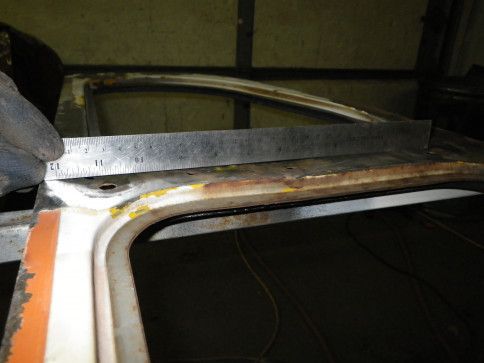
1/4" gap
Button -
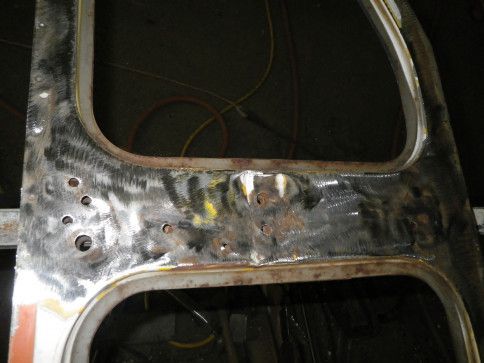
Lots of holes to fill.
Button -
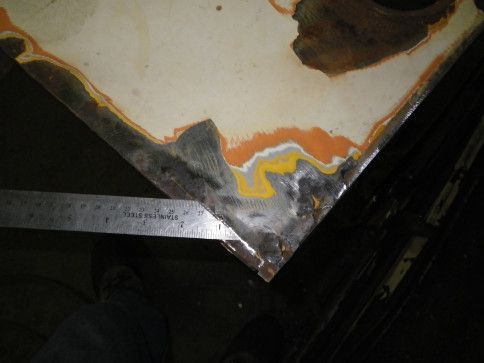
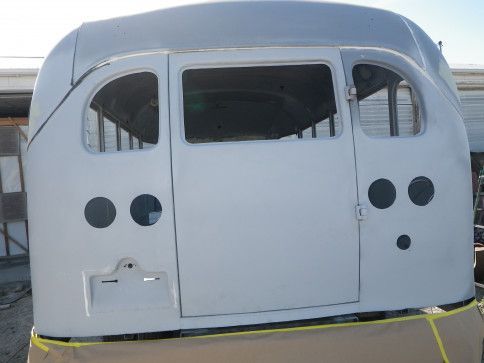
Cracks in bottom corner.
Button -
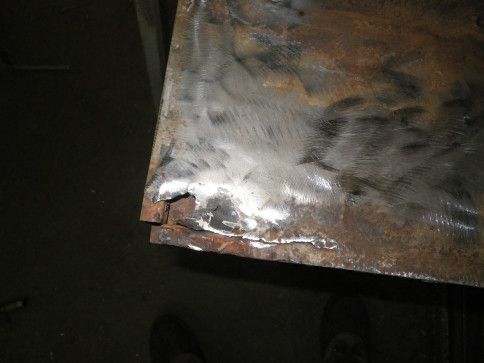
Cracks in bottom of other door as well.
Button -
In the past someone stripped 3 of 4 cage nuts for the hinge, so they drilled straight thru and used bolts and nuts which collapsed the panels. Easier to replace the steel and cage nuts at the same time
Button -
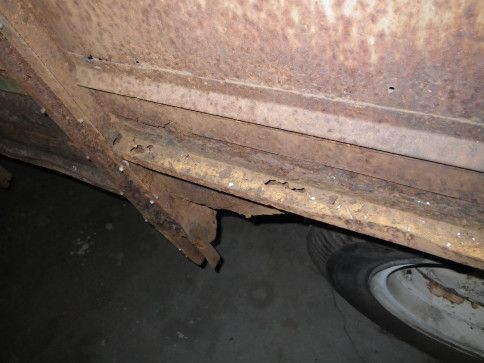
Bottom of rear side door, Swiss cheese, will sandblast, seal, and weld in new steel.
Button -
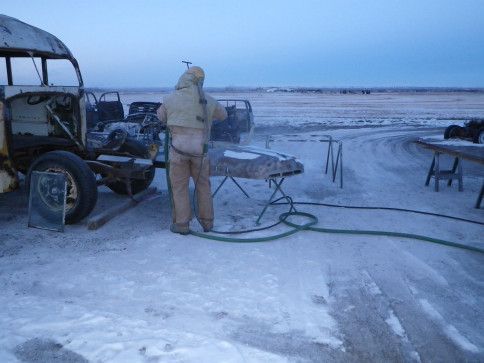
Sandblasting in progress, 2nd day is needed.
Button -
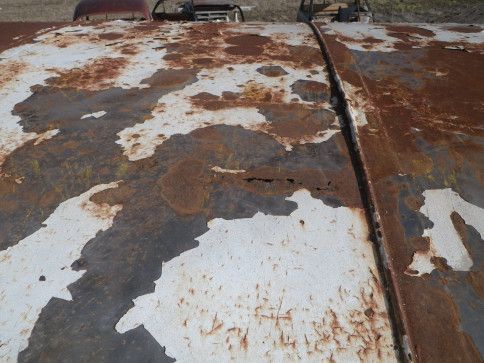
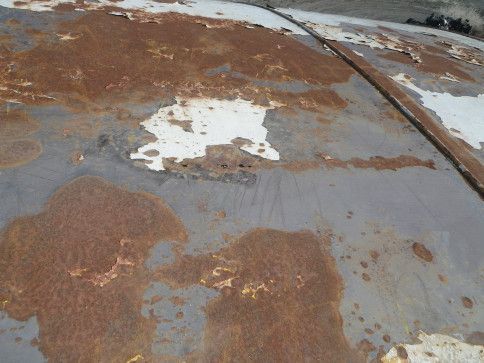
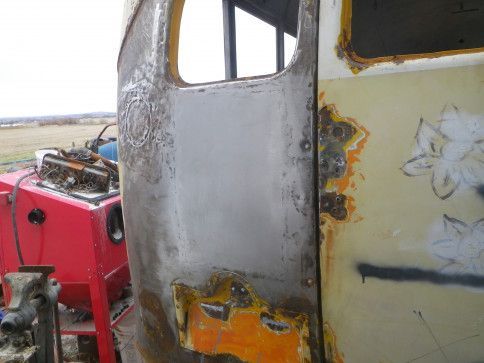
With paint removed(9 layers in some areas) more rust damage is appearing.
Button -
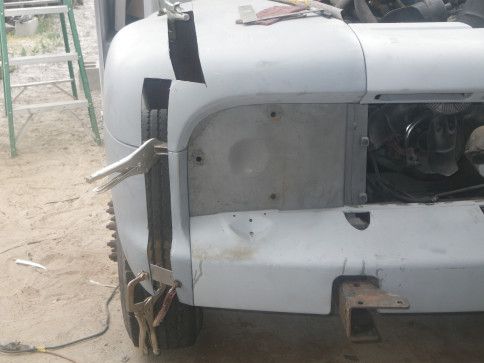
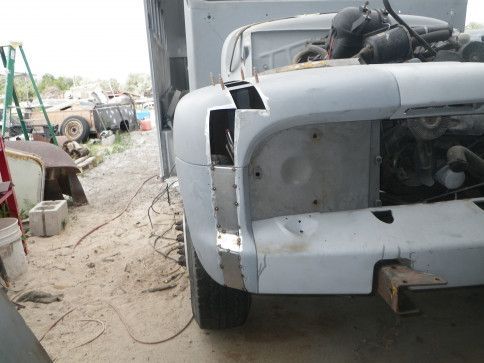
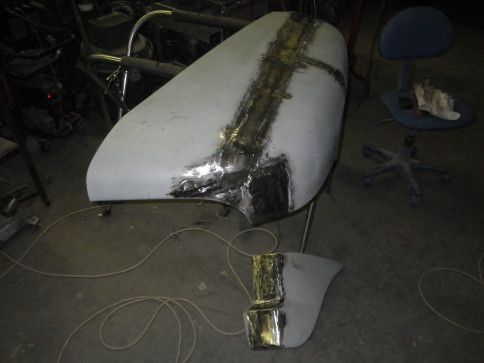
Replacing a poor weld job from the past in front fender.
Button -
Cut the rust out before sandblasting to clean the backside of the brace. And more holes to weld.
Button -
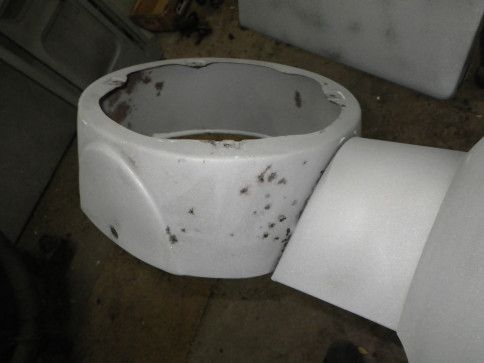
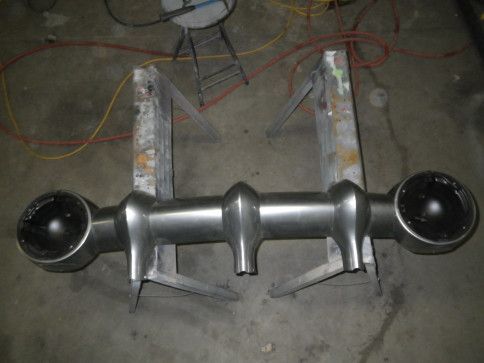
Both head light buckets are rusted thru
Button -
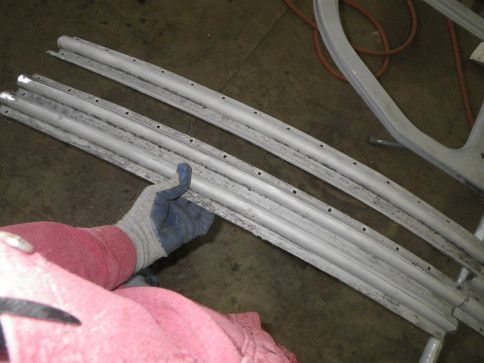
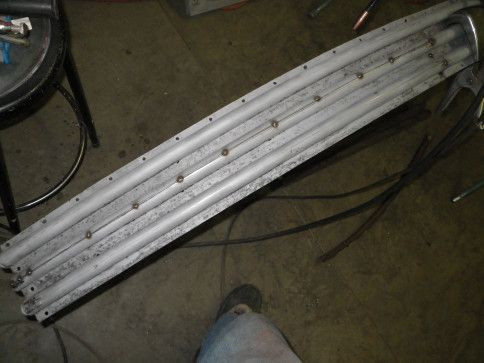
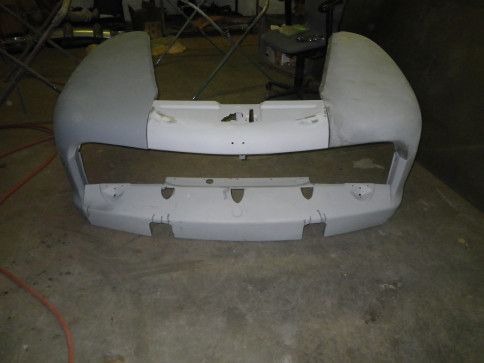
will try to find new rust free ones to weld back onto the perfect grill bars.
Button -
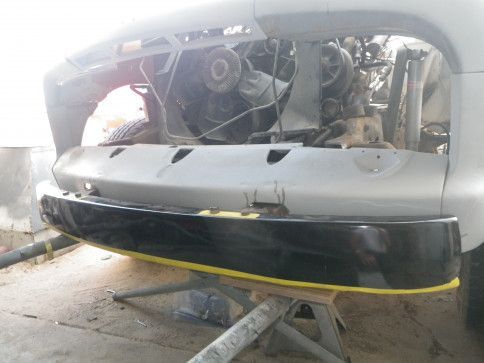
The lower front panel is perfect except for a couple of rust holes...will fix
Button -
I can find rust free ones, but not this straight
Button -
Doors look great after sandblasting, waiting for cage nuts so I can finish repair.
Button -
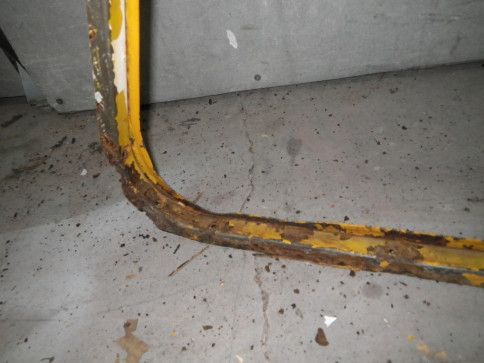
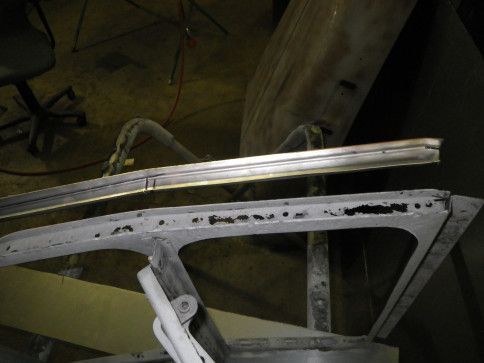
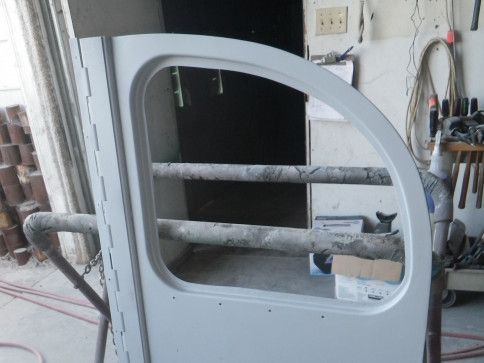
Top and bottom channels of drivers window very rusty, will make new channel and weld together.
Button -
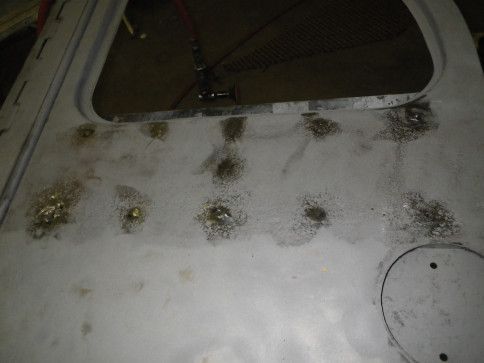
after sandblasting, grinding grooves are visible
Button -
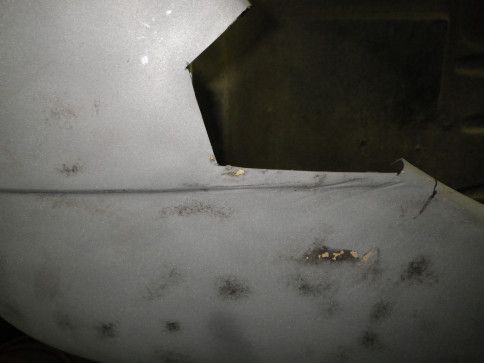
Will replace with patch from different fender
Button -
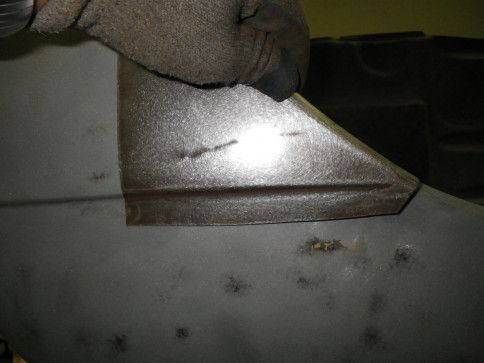
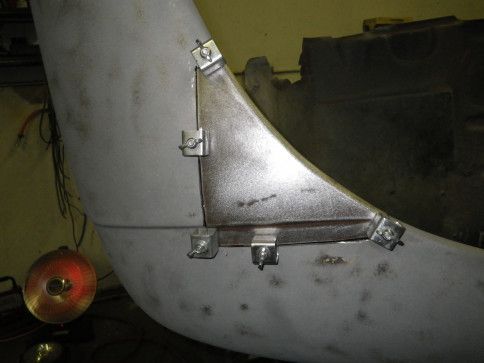
Cut, trim, clamp
Button -
Tack weld in place
Button -
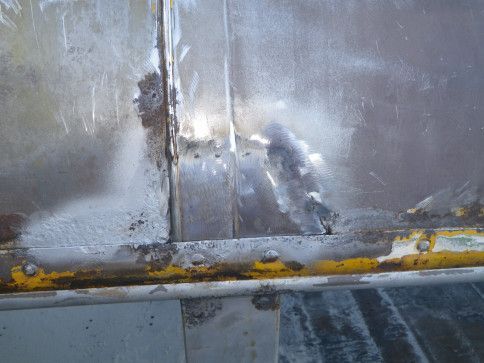
Finish welds, grind, hammer and dolly smooth
Button -
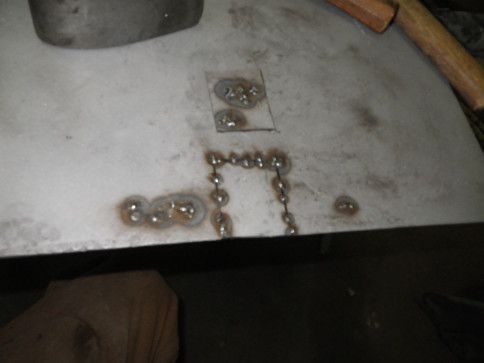
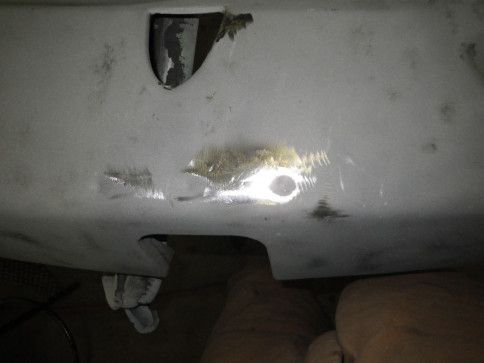
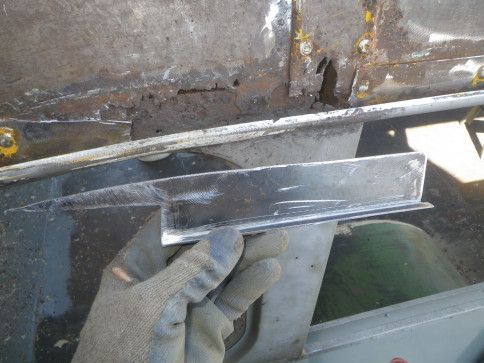
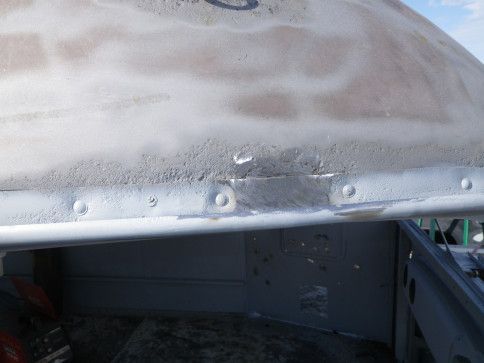
Weld small rust holes, patch area was too thin, kept melting away, remove and add new steel
Button -
Removing upper trim, fill all screw holes in rear side door
Button -
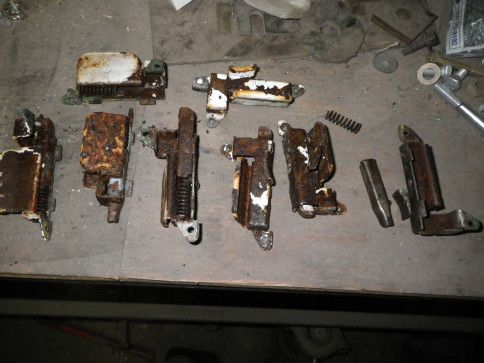
Inside window latches are very rusty, several are thin enough to bend, will try to find replacements.
Button -
rust holes fixed in front panel
Button -
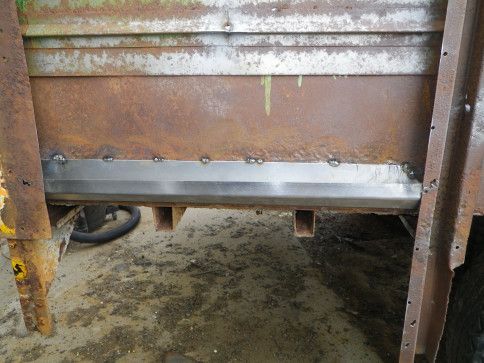
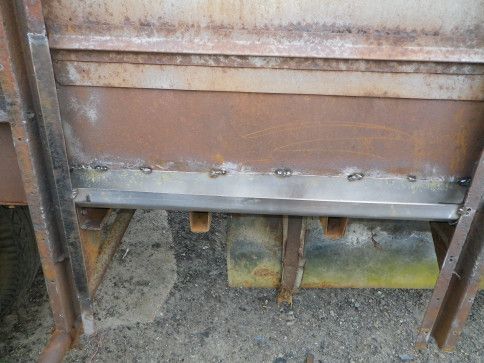
Made new door bottom
Button -
Welded in place
Button -
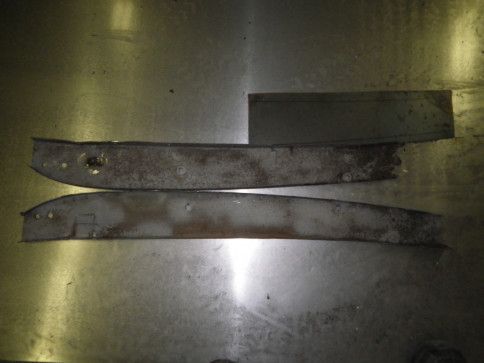
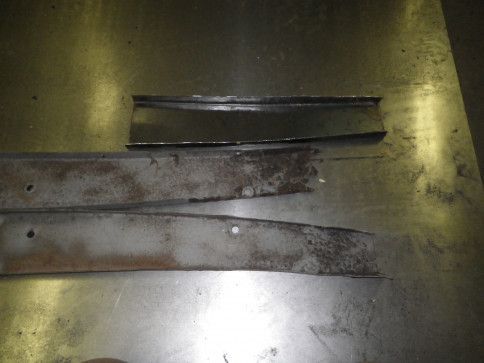
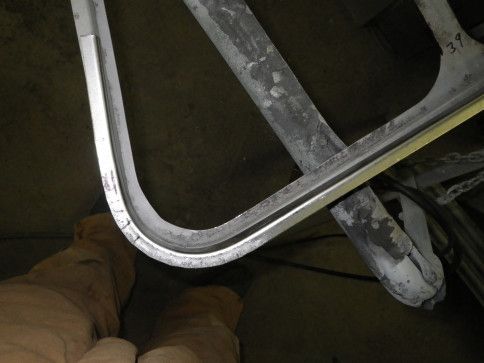
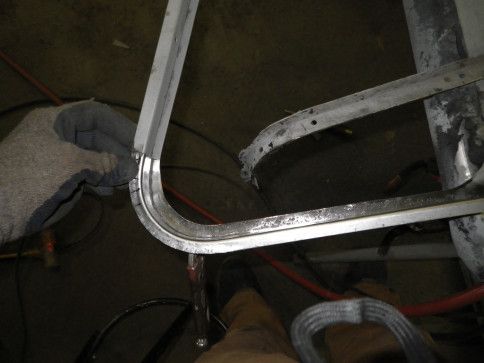
Making new channel for drivers window, 2 bends
Button -
and sharp curve
Button -
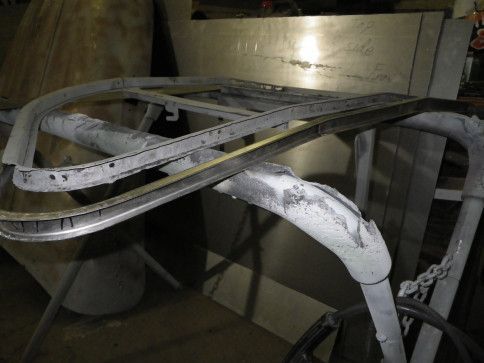
Removed holey channel, trim and fit new, a little more prep to weld, then test fit to bus and repeat on top channel.
Button -
Trial fit before final welding.
Button -
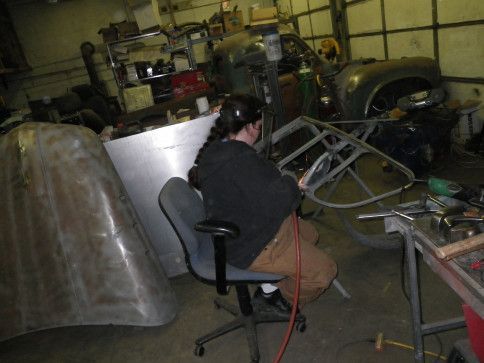
My hired help(daughter) grinding welds
Button -
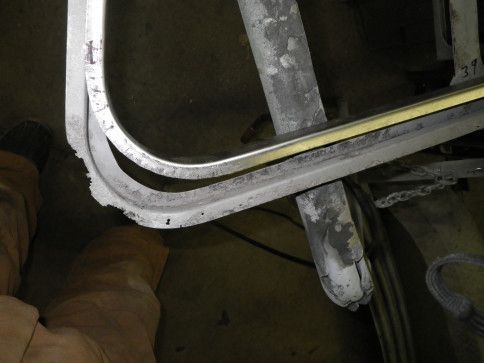
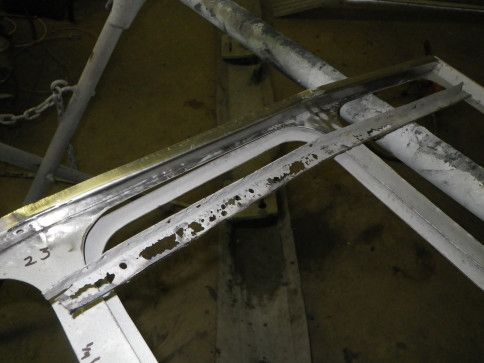
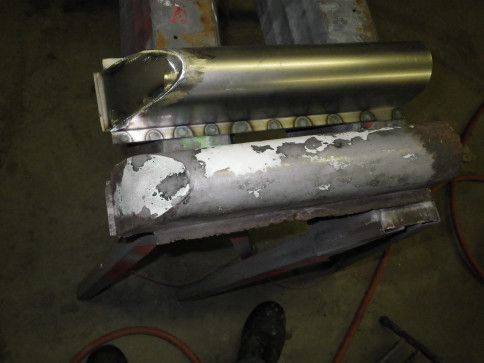
Rusty channel next to newly fabricated piece
Button -
Final fit with both top and bottom repaired.
Button -
First inspection of top, more rust, holes in 3 panels.
Button -
Eliminating one side trim, will use sections of both to make one good trim.
Button -
Trimming section to fit the better of the two trim.
Button -
Some careful trimming and weld.
Button -
Removing the damaged step side.
Button -
New braces in wall welded in
Button -
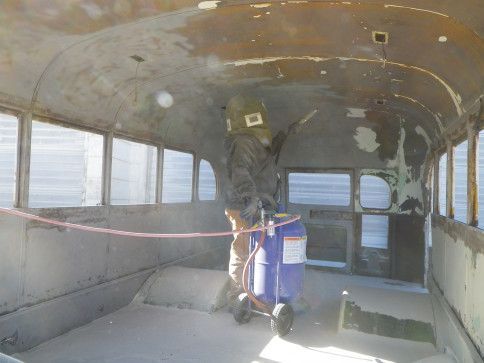
Sand blasting the interior
Button -
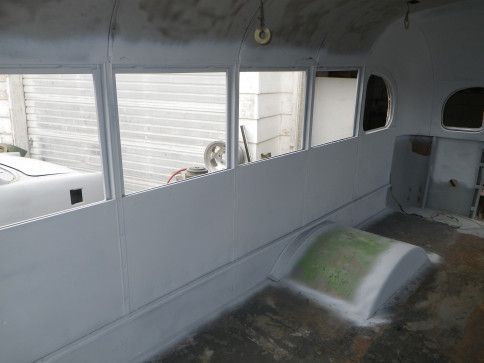
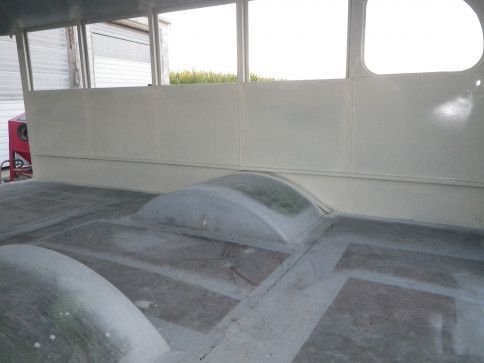
Ceiling and walls done, a little more on the floor
Button -
Primer at last!
Button -
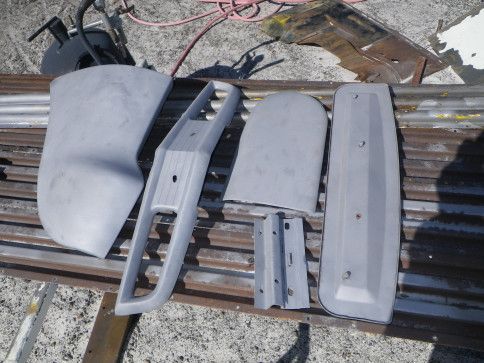
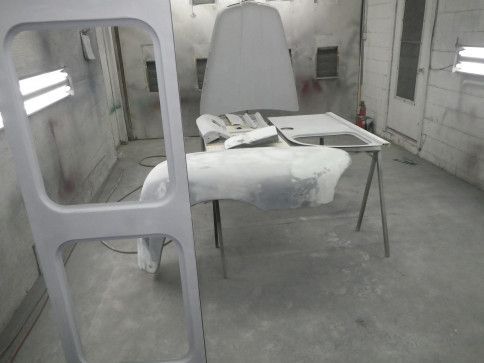
Primer/sealer on a lot of smaller parts
Button -
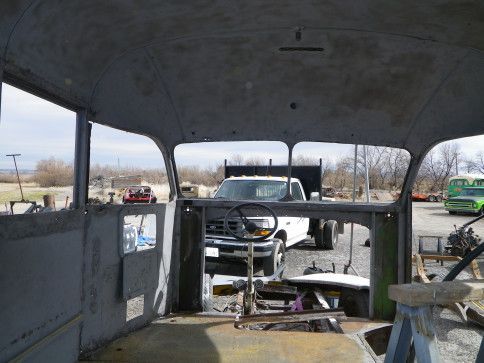
Smooth dash
Button -
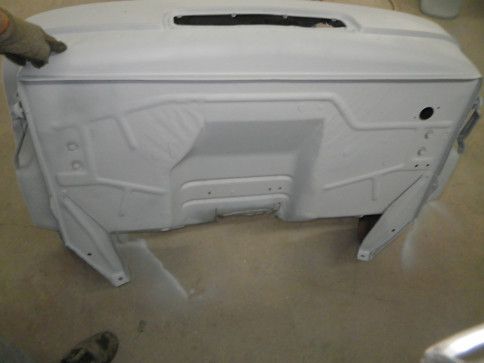
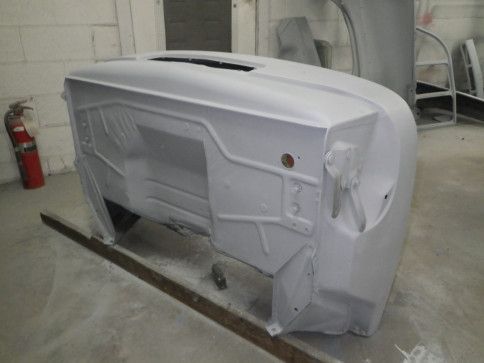
Smooth firewall
Button -
POR-15 rust seal painted on inner panels
Button -
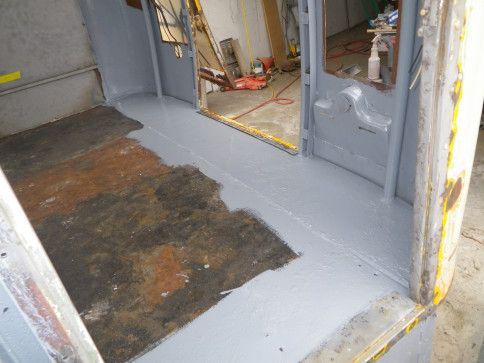
Front floor area sealed
Button -
Floor around rear doors is sealed
Button -
Under dash and all seams are sealed, will never rust again
Button -
Sealed under all braces (double panels)
Button -
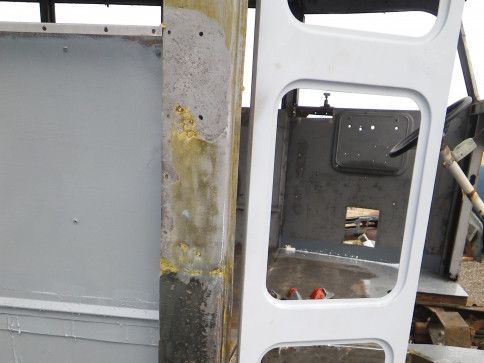
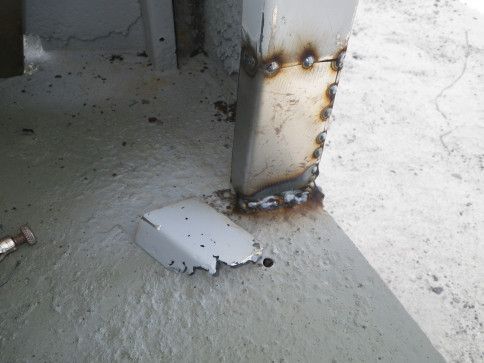
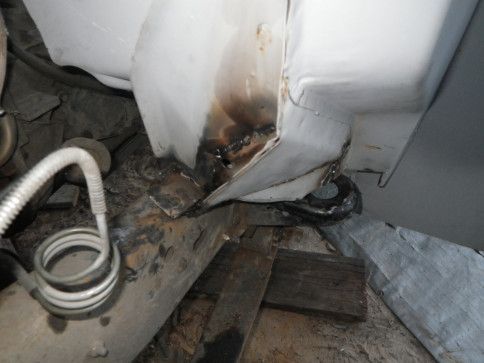
Front door post is now straight and cracks welded
Button -
Tubing welded into the brace for extra strength
Button -
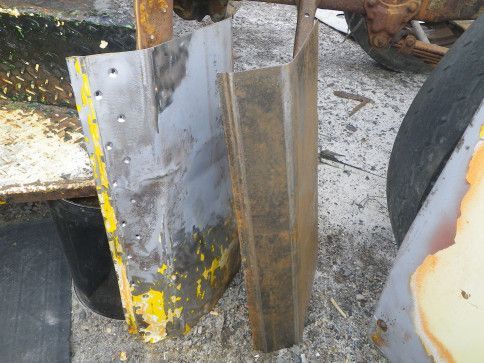
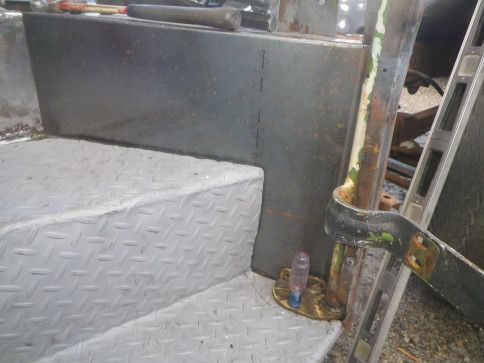
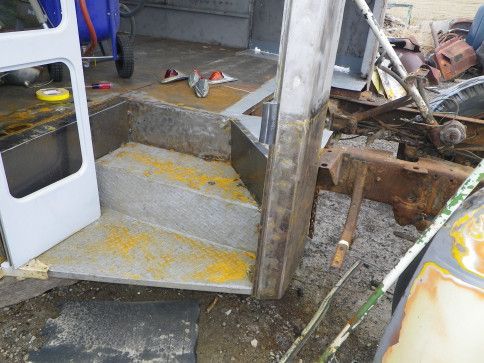
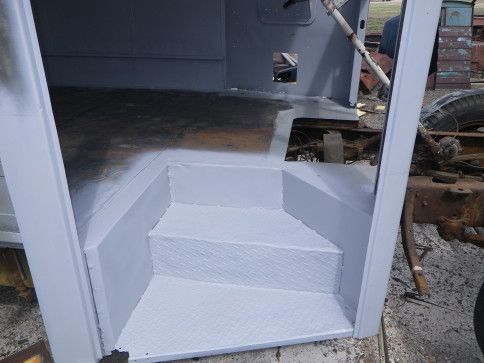
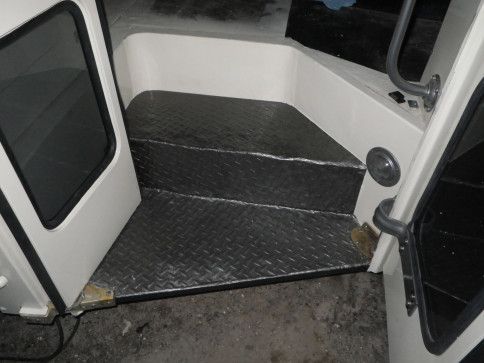
Left side of step, cut, bent, spot welded in place. More welding when whole area is repaired. Test fitting of door.
Button -
Removal of damaged panel, made new one, will drill holes for welding.
Button -
After removing front panel the damage was more visible and easier to repair.
Button -
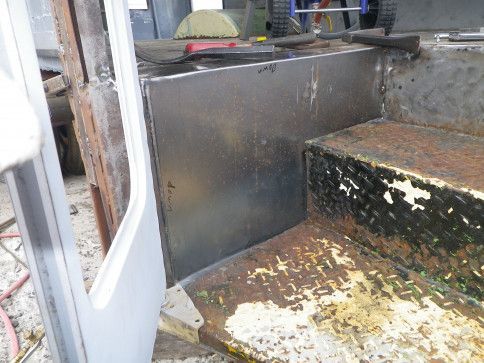
Had trouble fitting right side, found the floor had separated from the brace, 1/4" gap, cleaned the rust off, clamped welded.
Button -
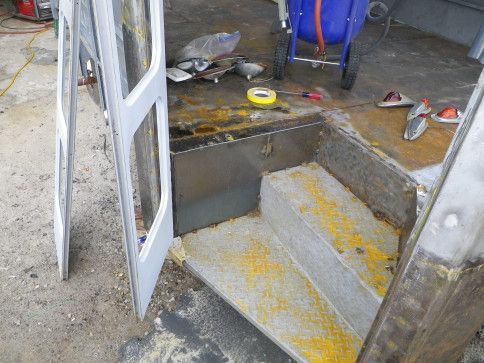
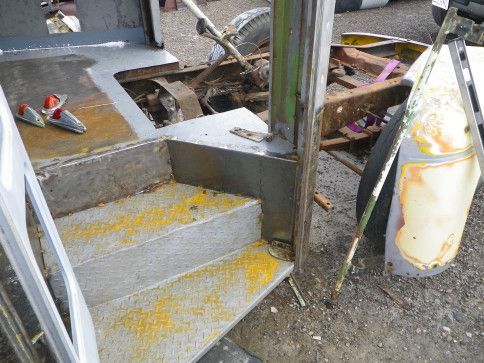
Right side of step, test fit with door hinge, sand blasted steps. Almost ready to weld it all together after final test fitting with both doors in place.
Button -
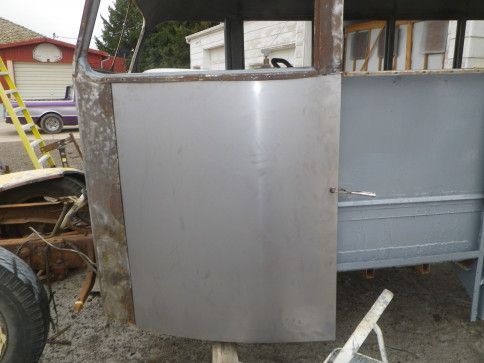
Left door frame all fixed, bottom half of outer skin replaced with new steel.
Button -
All welded together, straight and solid
Button -
The thicker steel was a challenge to bend.
Button -
Test fitting new outer skin.
Button -
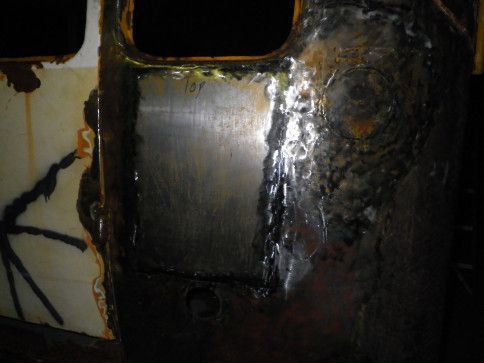
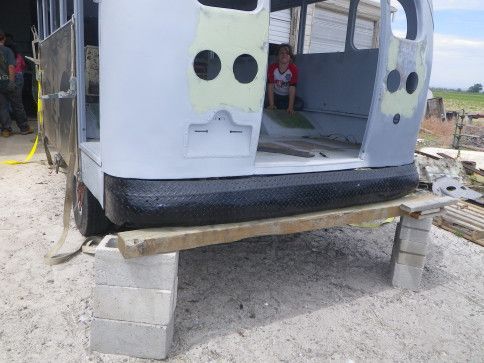
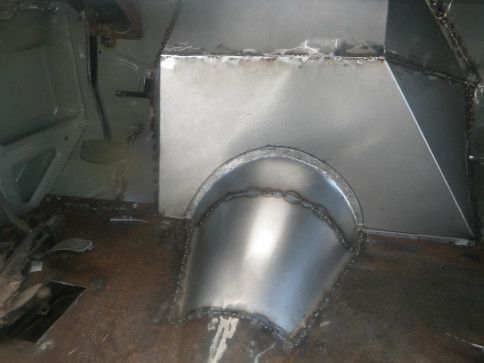
Left rear tail light area filled with new steel.
Button -
Right side tail light hole patched
Button -
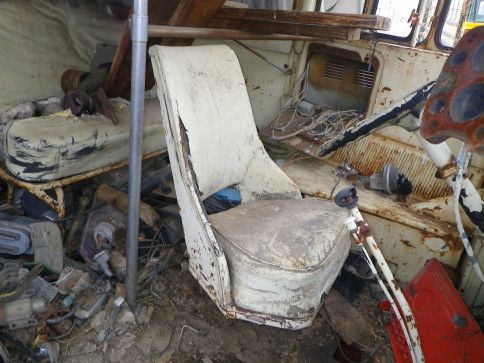
Found an original seat
Button -
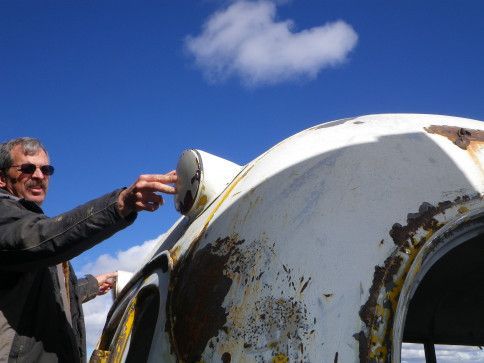
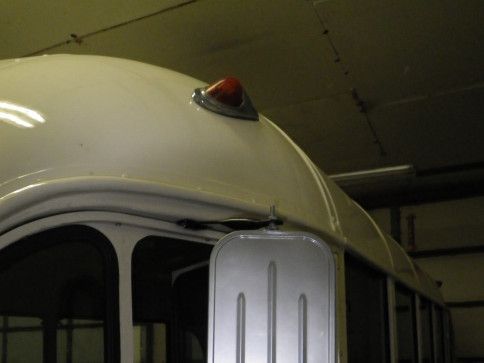
Going to add some neat roof brake lights
Button -
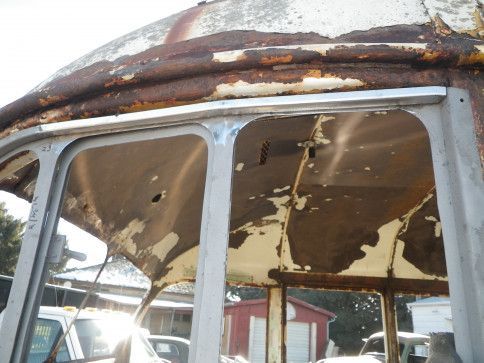
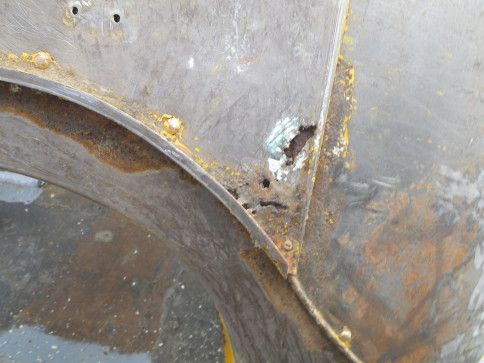
9 layers of paint can hide a lot of rust, this is above the rear window.
Button -
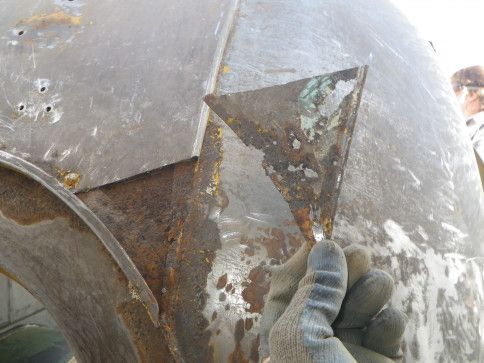
After cutting it loose the holes are easier to see.
Button -
Trail fit of new metal with small bead to match original.
Button -
Sealed underneath before welding it in place
Button -
Raingutter
Button -
Worst cut out to expose more rust
Button -
New piece cut to fit
Button -
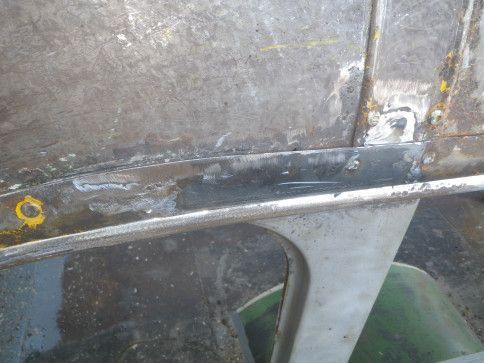
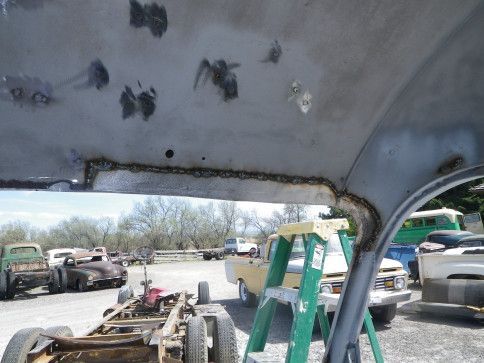
All welded in, ground smooth, ready for sealant
Button -
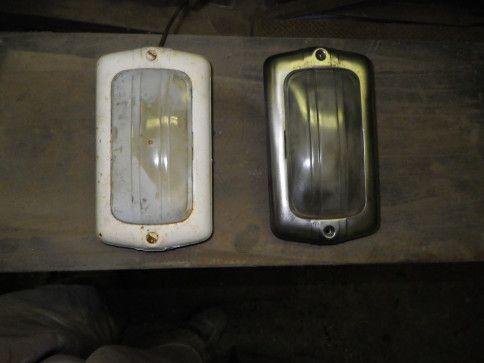
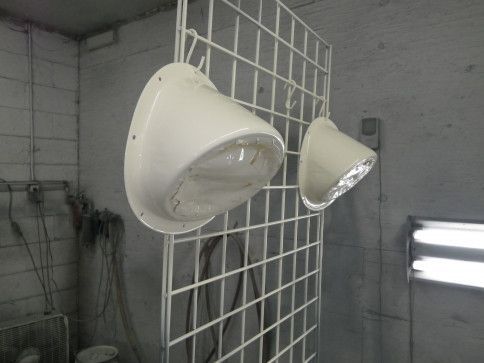
Interior lights before and after, painted and stripped clean
Button -
More small parts getting sandblasted.
Button -
Step area sealed.
Button -
Lower interior sealed.
Button -
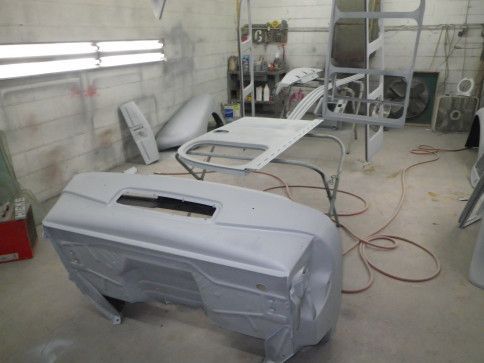
Firewall filled, sanded, primed again.
Button -
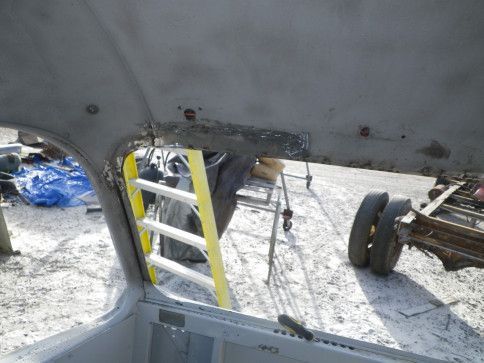
After sandblasting, more rust holes above windshield.
Button -
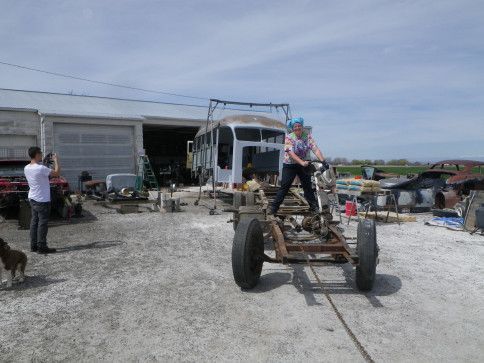
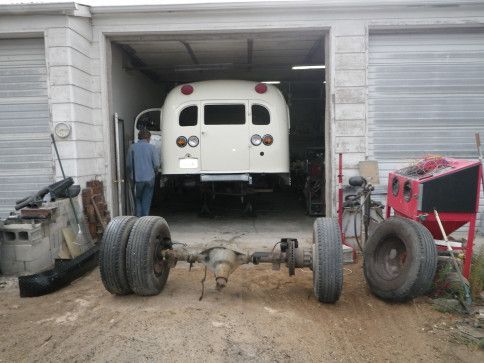
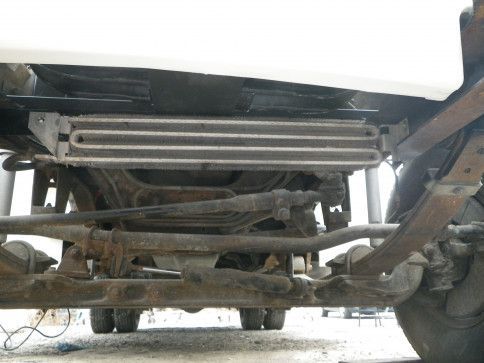
Towing the old chassis out from under the body.
Button -
Hanging around. Heavy enough to bend the A-frame.
Button -
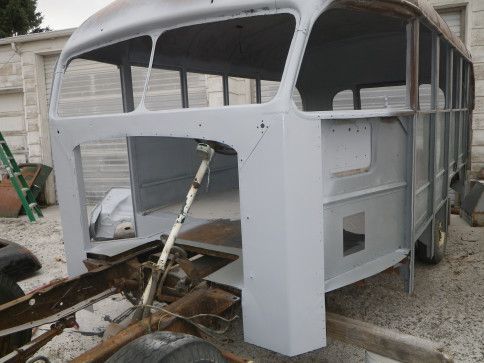
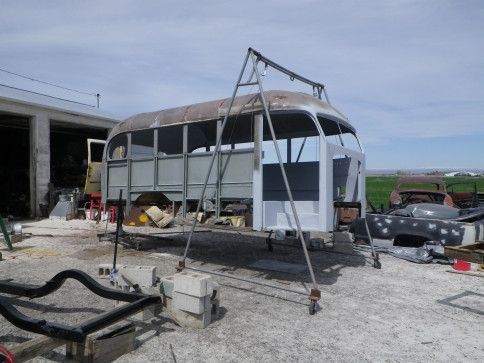
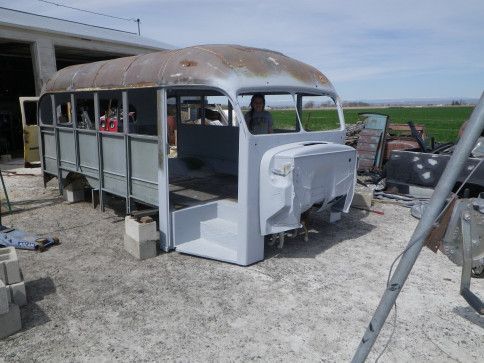
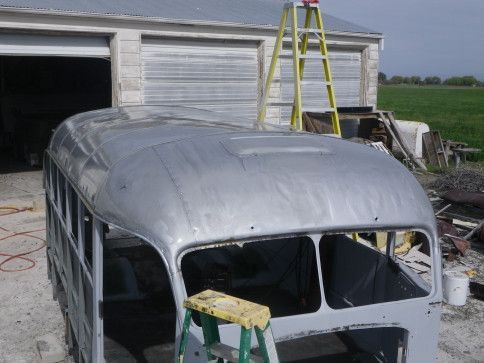
Body setting on the ground, much easier to reach the top for repairs.
Button -
The last piece of rust repair! Yahoo!
Button -
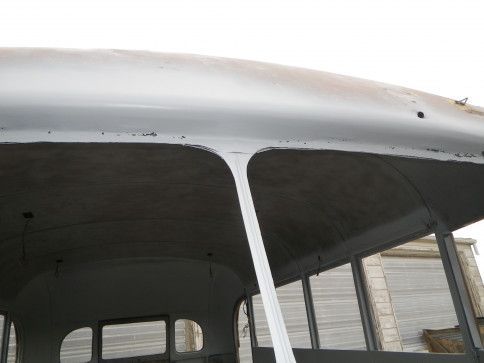
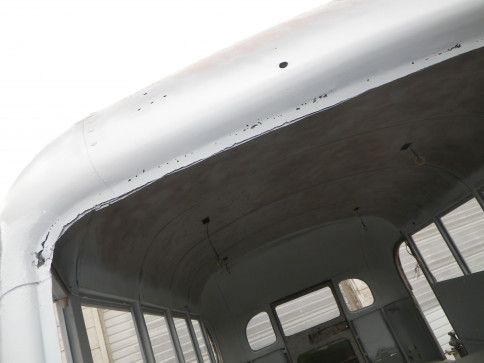
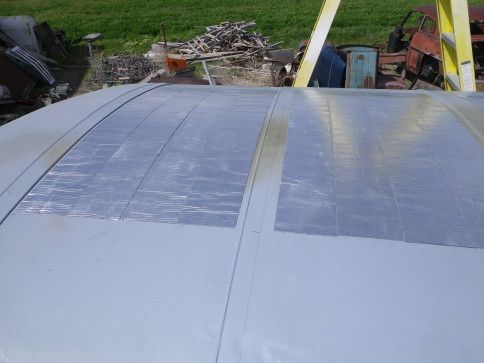
POR-15 rust seal on whole roof, rain gutters, seams, inside openings, etc..
Button -
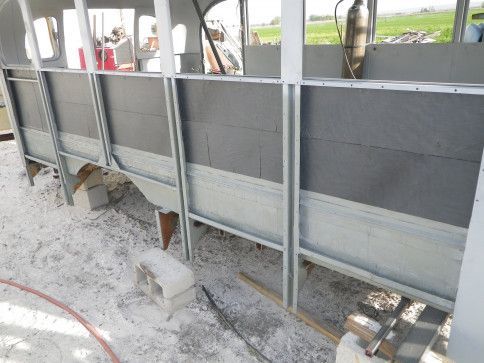
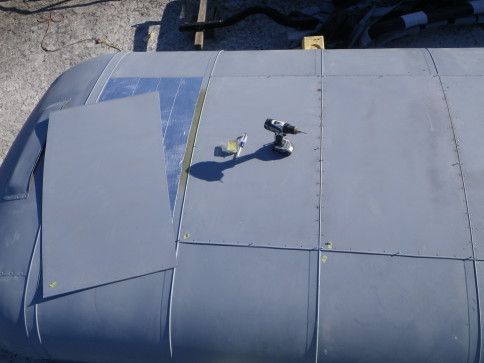
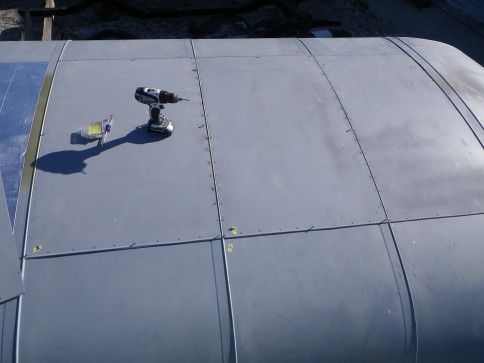
Roof is sealed, adding sound deadener to side panels.
Button -
Adding heat/sound barrier to side panels.
Button -
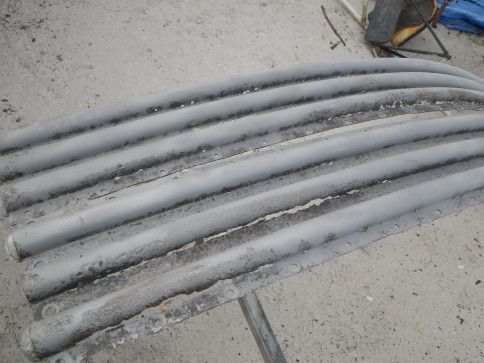
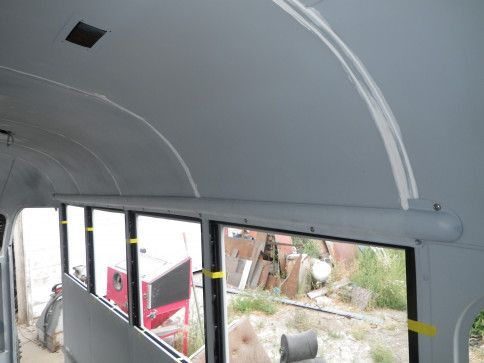
Adding heat/sound barrier on roof under new metal skin.
Button -
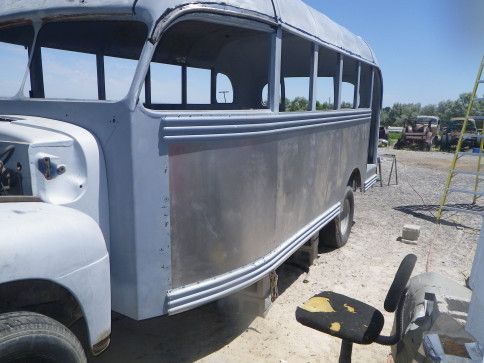
New panels with bead rolled edges that match the rest of the bus, making it look like it could be original.
Button -
First trial fit on the 94 Ford chassis, sits too high.
Button -
Will have to modify the step, need body moved 1 1/2 " to the left.
Button -
A 5 inch kick-up in the frame that I will remove. Will lower the front of the body .
Button -
Clamped together, a little more adjusting then start welding.
Button -
Grill is powder coated.
Button -
Body has 4 more inches to come down but is now hitting the transmission, more modifications to do.
Button -
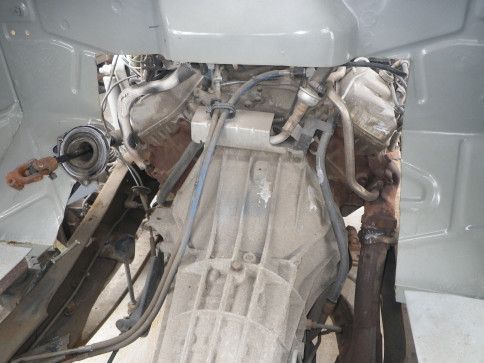
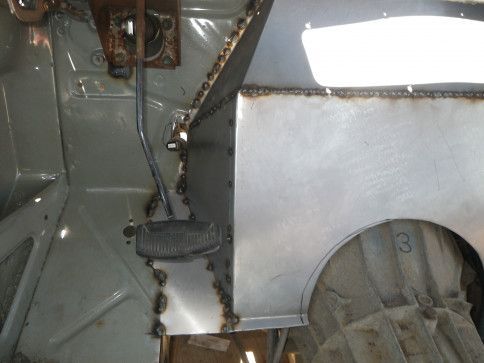
Had to remove more of the firewall than I wanted to, need to remove a little more on the right side.
Button -
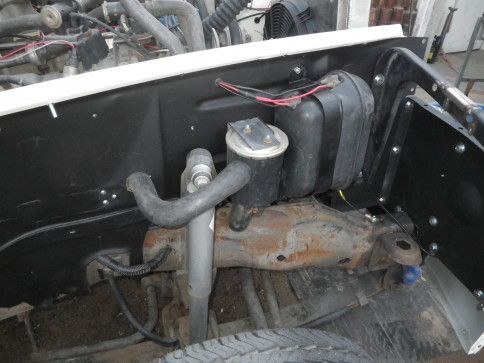
Made a new defrost ducting to replace the rusty one.
Button -
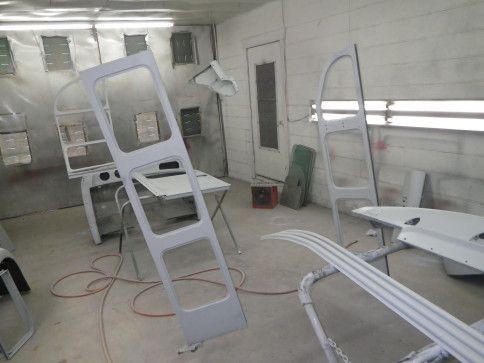
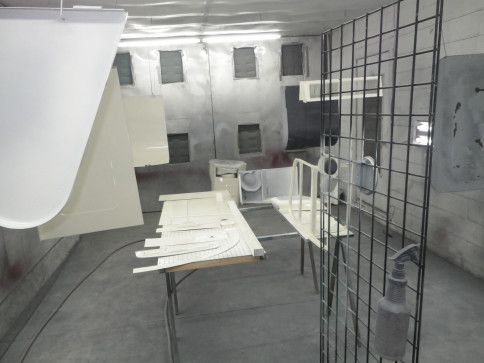
Painted Parts
Button -
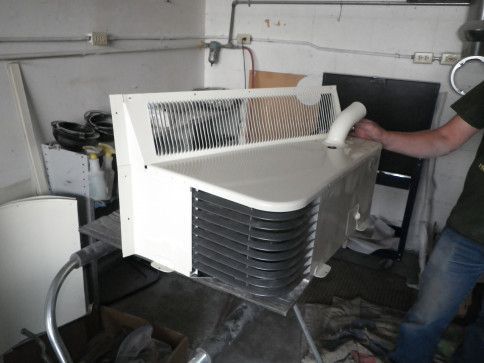
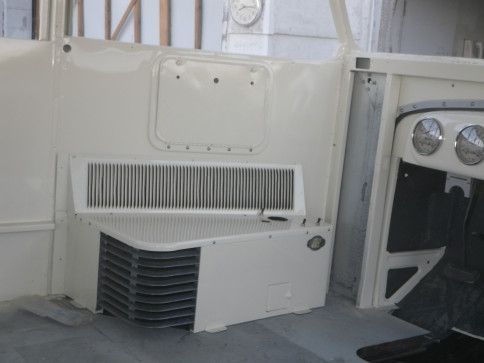
Different heater, art deco styling from a 49 Hicks bodied bus
Button -
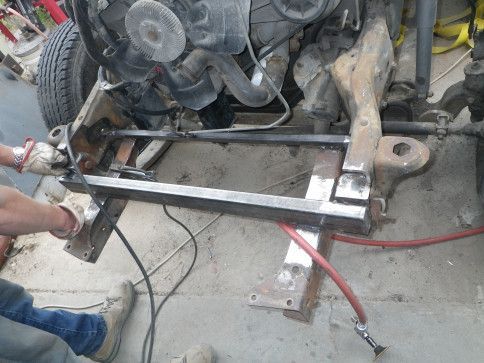
frame extension welded on
Button -
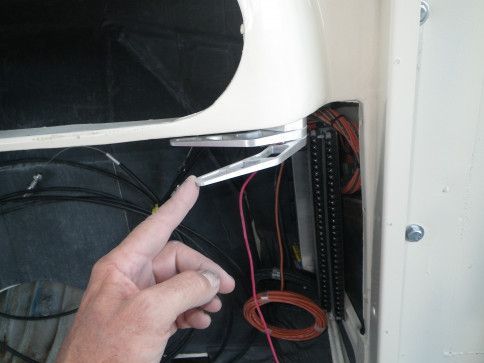
Front cowl mounts modified, moved inward and up
Button -
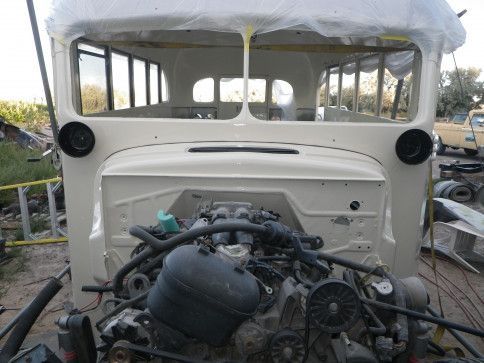
Firewall and trans cover completed
Button -
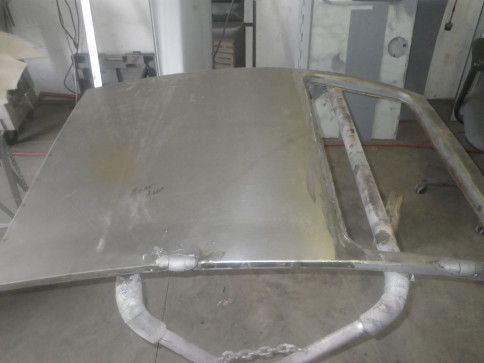
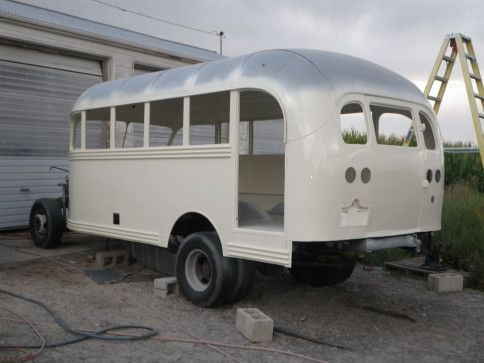
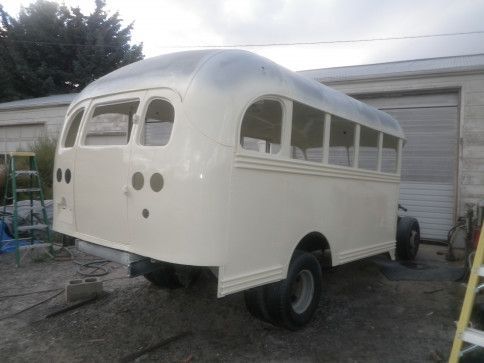
New skin on the rear door
Button -
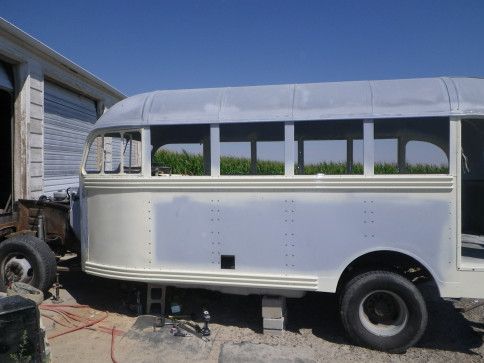
Final fitting of side panels and moldings before paint, all holes drilled for final assembly.
Button -
New panels riveted on final time, moldings next.
Button -
Rebuilt door installed
Button -
Rear side door ready to install.
Button -
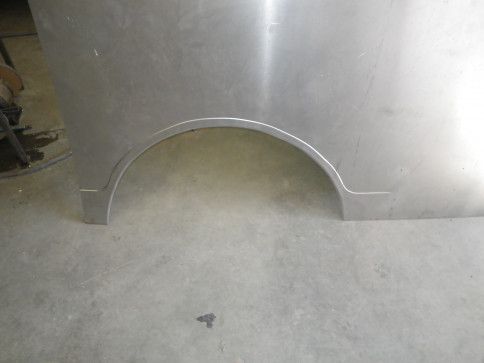
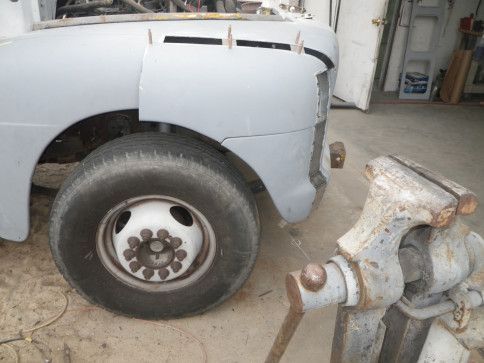
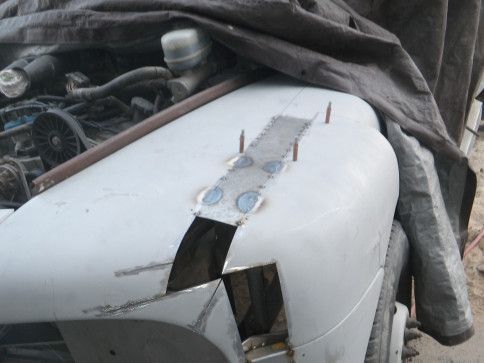
First cuts for extending fenders 3 inches
Button -
First 3 pieces tack welded in place
Button -
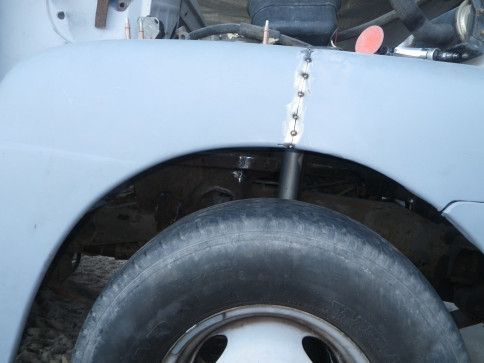
Wheel opening will be smaller, but will still fit the tires.
Button -
Starting on driver side.
Button -
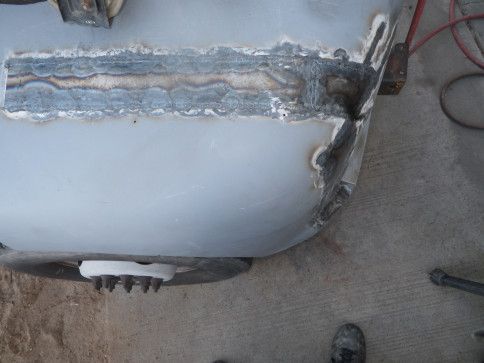
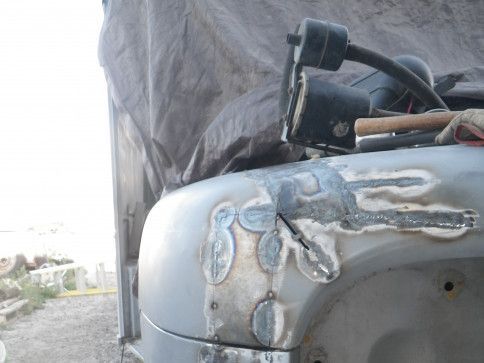
Trying to keep the natural curves
Button -
Will almost look factory when done, few more welds to do.
Button -
Fits the tire beautifully, opening is 2 1/2 inches shorter, but looks stock.
Button -
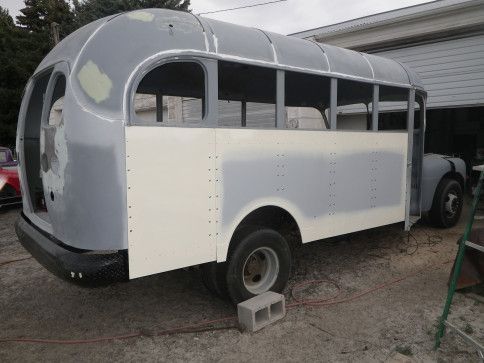
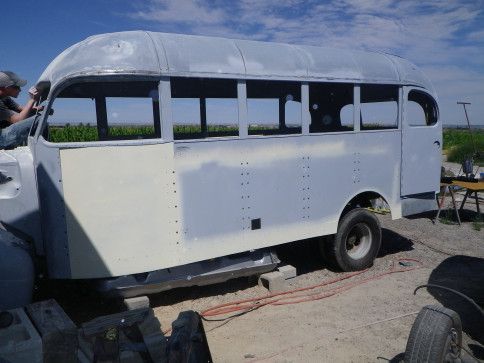
Final side panel installed, molding s next.
Button -
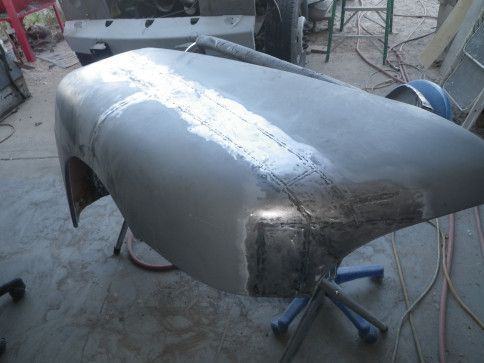
welding done, a little more metalworking, then thin coat of filler.
Button -
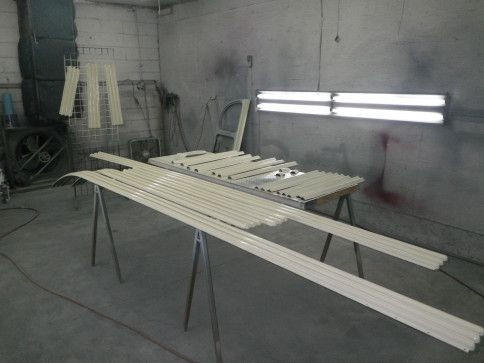
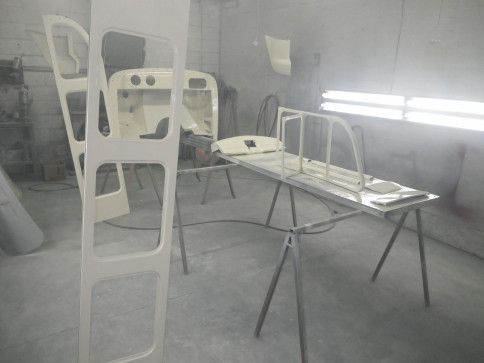
painting a lot of small pieces
Button -
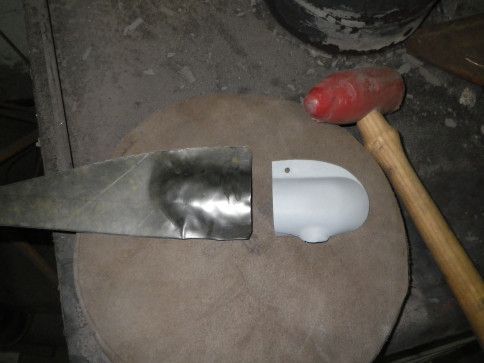
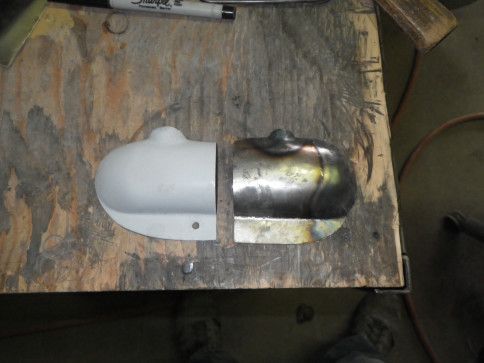
Start fabricating last missing wire cover from flat steel, rough shape
Button -
Almost done, a little more adjustments.
Button -
Trial fitting all wire covers and window channels, finding a few stripped holes before paint.
Button -
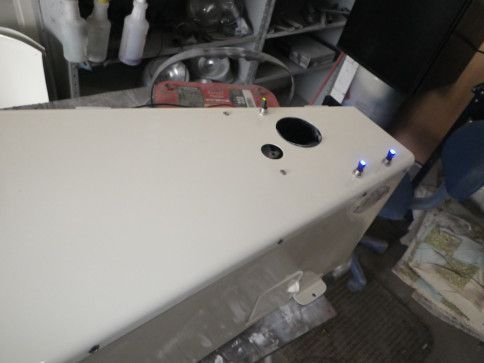
Heater all wired with light-up toggle switches.
Button -
Heater is actually out of a 1949 bus, a lot prettier than the original 51.
Button -
Color on more trim pieces.
Button -
All side moldings riveted back on.
Button -
Starting to add color to interior.
Button -
Primed and ready for final sanding then color.
Button -
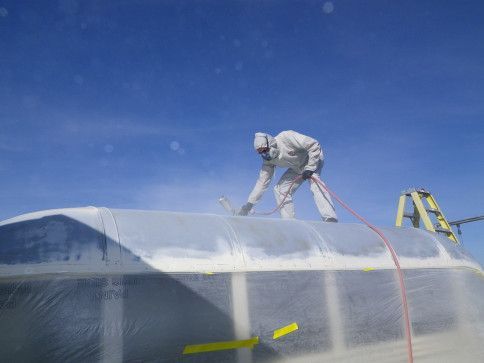
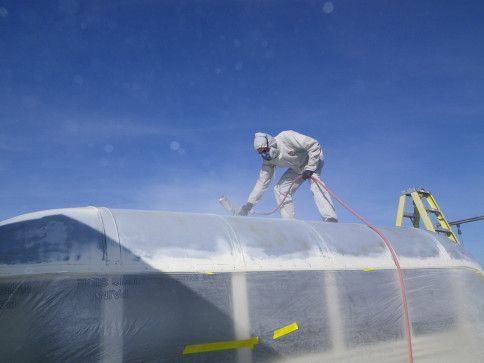
Will mask off from the rain gutters to paint the roof, doing it in sections to avoid overspray because of its size.
Button -
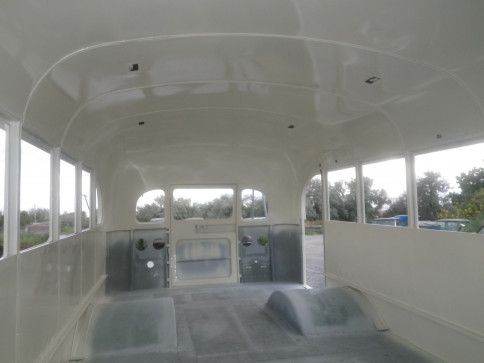
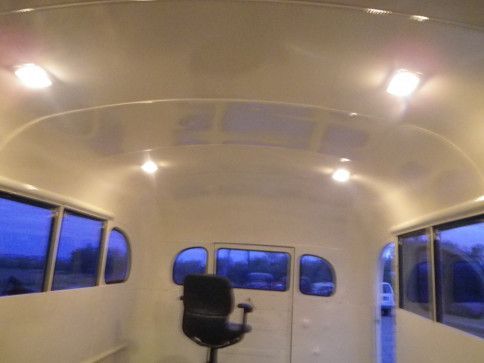
Interior painted time for wiring and assembly.
Button -
More parts painted
Button -
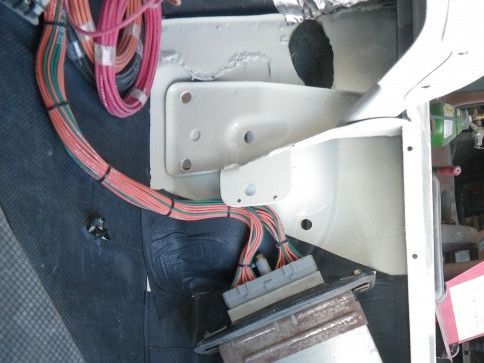
Engine control panel mounted with the computer mounted behind.
Button -
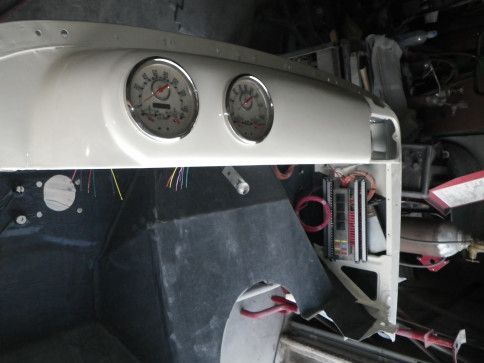
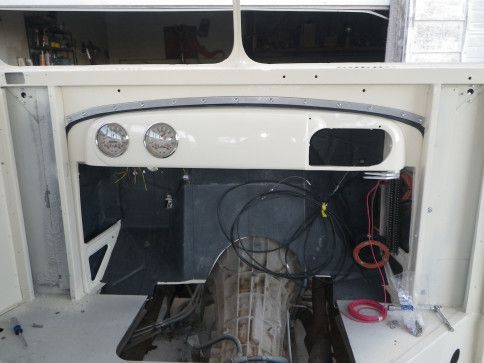
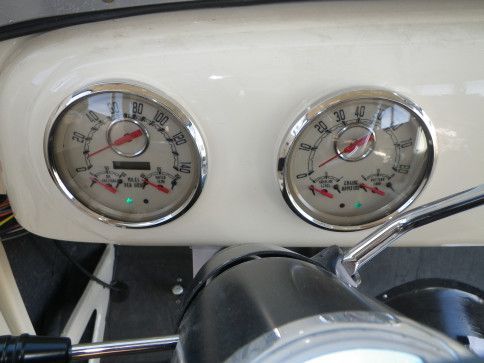
Gauges installed, firewall insulated
Button -
Cowl vent mechanism cleaned, painted, installed
Button -
Cowl/dash re-mounted to body for final time.
Button -
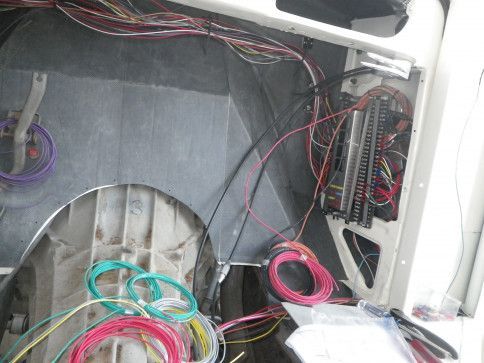
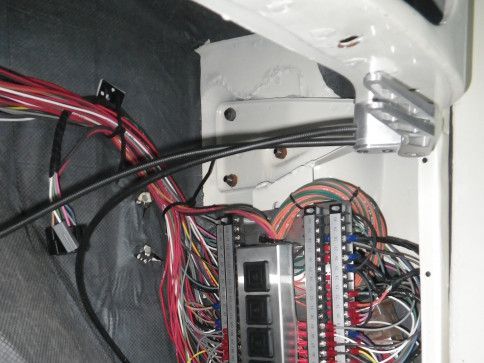
Hook up last 2 wires and battery cables and ready to start. 4 days of wiring
Button -
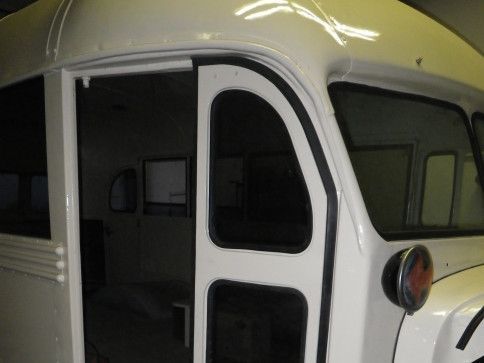
First trial fit of door with rubber seals, wish it was 1/4" wider. No rubber reproductions available for buses, 100 samples and only one comes close.
Button
-
1951 Ford school bus on delivery day
Button -
rusty fender to be replaced
Button -
cowl area to be repaired
Button -
rust damage in rain gutter
Button -
lots of rust around side moldings
Button -
rust holes thru top molding
Button -
more rust
Button -
one rust hole in roof
Button -
rust and damage in passenger cowl
Button -
over 100 rivets to remove top molding
Button -
removal of 2nd molding, I hate rivets
Button -
rust holes thru sheet metal under moldings
Button -
removal of sheet metal will replace with new. Did I mention I hate rivets, almost 400 on this side.
Button -
some rust damage of inner bracing to be repaired
Button -
Passenger side is stripped
Button -
rust holes thru to the inside
Button -
passenger side has twice the rust as drivers side
Button -
Bottom of rear door has rust coming thru, will replace
Button -
Right front was wrecked at some point, fender replaced, but damage to cowl was not repaired correctly which resulted in a lot of stress cracks
Button -
Will replace whole cowl with straight rust free one, cheaper than to repair.
Button -
stress cracks on left side as well.
Button -
Ugly sheet metal panels holding tail lights.
Button -
Even tail light housings are rusted thru.
Button -
roof lights rusty, found replacements
Button -
All top window channels need replaced
Button -
poor repair of step damage, will replace
Button -
window frame rust holes
Button -
new, rust free cowl almost ready to swap
Button -
rust holes in both windshield posts
Button -
First brace repaired
Button -
repairing lower windshield corner
Button -
Tack welding
Button -
finish welded and ground smooth
Button -
More rust...
Button -
Engine out
Button -
Cowl removed for repairs
Button -
This is the worst it will look, no where but up now.
Button -
To most it looks like a lost cause.
Button -
Hardest part was removing the glued in flooring
Button -
Sand blasting the whole body is next, inside and out.
Button -
brace behind step is torn, bent and twisted
Button -
More of the crack by the step
Button -
Removing bracing that needs repaired before sand blasting
Button -
Bottom of dash under glove box door is rusted thru
Button -
Starting the dash repair
Button -
Start filling holes
Button -
Rust is repaired, a few more holes to fill
Button -
All holes filled in dash.
Button -
Bottom of cowl mounting plate rusted away, will replace about 10 inches, start with flat steel.
Button -
Steel bent to shape
Button -
Plate is welded and inserted for test fit, alignment is very important.
Button -
First test fit of dash and top of cowl
Button -
All welded together
Button -
All extra holes in firewall have been welded shut and ground smooth.
Button -
Starting to fix all the dents and holes in front doors.
Button -
1/4" gap
Button -
Lots of holes to fill.
Button -
Cracks in bottom corner.
Button -
Cracks in bottom of other door as well.
Button -
In the past someone stripped 3 of 4 cage nuts for the hinge, so they drilled straight thru and used bolts and nuts which collapsed the panels. Easier to replace the steel and cage nuts at the same time
Button -
Bottom of rear side door, Swiss cheese, will sandblast, seal, and weld in new steel.
Button -
Sandblasting in progress, 2nd day is needed.
Button -
With paint removed(9 layers in some areas) more rust damage is appearing.
Button -
Replacing a poor weld job from the past in front fender.
Button -
Cut the rust out before sandblasting to clean the backside of the brace. And more holes to weld.
Button -
Both head light buckets are rusted thru
Button -
will try to find new rust free ones to weld back onto the perfect grill bars.
Button -
The lower front panel is perfect except for a couple of rust holes...will fix
Button -
I can find rust free ones, but not this straight
Button -
Doors look great after sandblasting, waiting for cage nuts so I can finish repair.
Button -
Top and bottom channels of drivers window very rusty, will make new channel and weld together.
Button -
after sandblasting, grinding grooves are visible
Button -
Will replace with patch from different fender
Button -
Cut, trim, clamp
Button -
Tack weld in place
Button -
Finish welds, grind, hammer and dolly smooth
Button -
Weld small rust holes, patch area was too thin, kept melting away, remove and add new steel
Button -
Removing upper trim, fill all screw holes in rear side door
Button -
Inside window latches are very rusty, several are thin enough to bend, will try to find replacements.
Button -
rust holes fixed in front panel
Button -
Made new door bottom
Button -
Welded in place
Button -
Making new channel for drivers window, 2 bends
Button -
and sharp curve
Button -
Removed holey channel, trim and fit new, a little more prep to weld, then test fit to bus and repeat on top channel.
Button -
Trial fit before final welding.
Button -
My hired help(daughter) grinding welds
Button -
Rusty channel next to newly fabricated piece
Button -
Final fit with both top and bottom repaired.
Button -
First inspection of top, more rust, holes in 3 panels.
Button -
Eliminating one side trim, will use sections of both to make one good trim.
Button -
Trimming section to fit the better of the two trim.
Button -
Some careful trimming and weld.
Button -
Removing the damaged step side.
Button -
New braces in wall welded in
Button -
Sand blasting the interior
Button -
Ceiling and walls done, a little more on the floor
Button -
Primer at last!
Button -
Primer/sealer on a lot of smaller parts
Button -
Smooth dash
Button -
Smooth firewall
Button -
POR-15 rust seal painted on inner panels
Button -
Front floor area sealed
Button -
Floor around rear doors is sealed
Button -
Under dash and all seams are sealed, will never rust again
Button -
Sealed under all braces (double panels)
Button -
Front door post is now straight and cracks welded
Button -
Tubing welded into the brace for extra strength
Button -
Left side of step, cut, bent, spot welded in place. More welding when whole area is repaired. Test fitting of door.
Button -
Removal of damaged panel, made new one, will drill holes for welding.
Button -
After removing front panel the damage was more visible and easier to repair.
Button -
Had trouble fitting right side, found the floor had separated from the brace, 1/4" gap, cleaned the rust off, clamped welded.
Button -
Right side of step, test fit with door hinge, sand blasted steps. Almost ready to weld it all together after final test fitting with both doors in place.
Button -
Left door frame all fixed, bottom half of outer skin replaced with new steel.
Button -
All welded together, straight and solid
Button -
The thicker steel was a challenge to bend.
Button -
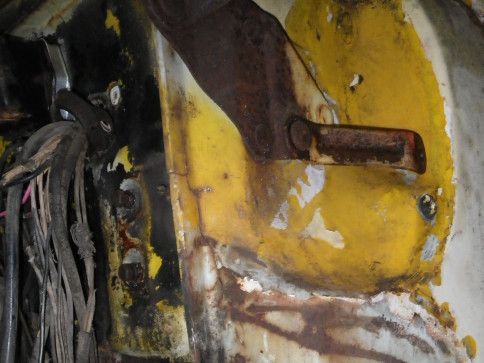
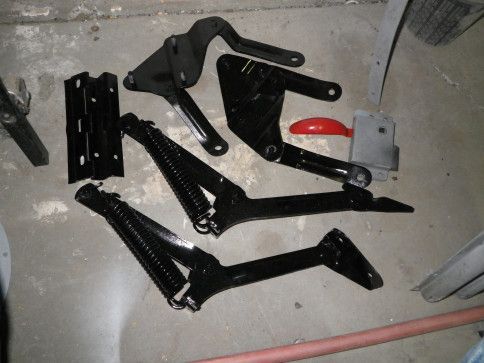
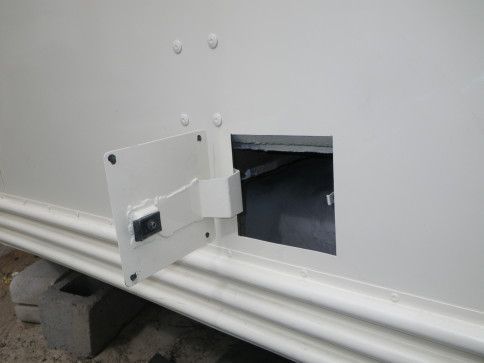
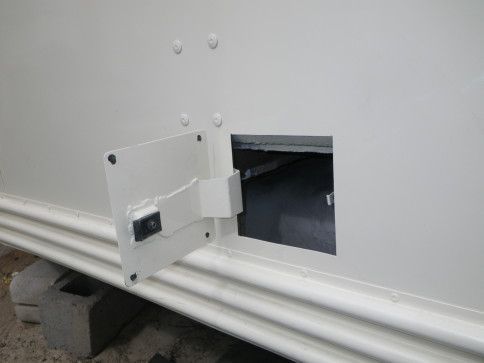
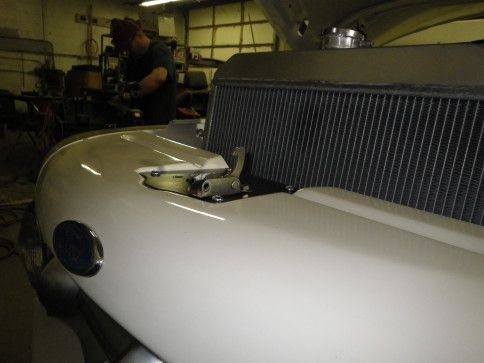
Levers for hood release and gas door.
Button -
Test fitting new outer skin.
Button -
Left rear tail light area filled with new steel.
Button -
Right side tail light hole patched
Button -
Found an original seat
Button -
Going to add some neat roof brake lights
Button -
9 layers of paint can hide a lot of rust, this is above the rear window.
Button -
After cutting it loose the holes are easier to see.
Button -
Trail fit of new metal with small bead to match original.
Button -
Sealed underneath before welding it in place
Button -
Raingutter
Button -
Worst cut out to expose more rust
Button -
New piece cut to fit
Button -
All welded in, ground smooth, ready for sealant
Button -
Interior lights before and after, painted and stripped clean
Button -
More small parts getting sandblasted.
Button -
Step area sealed.
Button -
Lower interior sealed.
Button -
Firewall filled, sanded, primed again.
Button -
After sandblasting, more rust holes above windshield.
Button -
Towing the old chassis out from under the body.
Button -
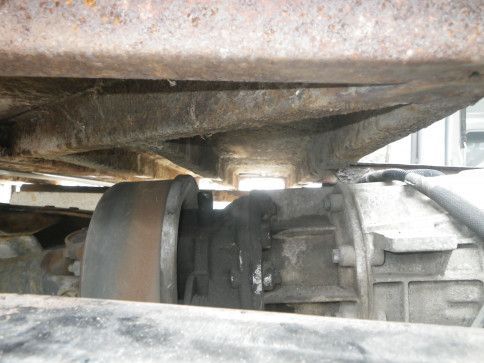
Hanging around. Heavy enough to bend the A-frame.
Button -
Body setting on the ground, much easier to reach the top for repairs.
Button -
The last piece of rust repair! Yahoo!
Button -
POR-15 rust seal on whole roof, rain gutters, seams, inside openings, etc..
Button -
Roof is sealed, adding sound deadener to side panels.
Button -
Adding heat/sound barrier to side panels.
Button -
Adding heat/sound barrier on roof under new metal skin.
Button -
New panels with bead rolled edges that match the rest of the bus, making it look like it could be original.
Button -
First trial fit on the 94 Ford chassis, sits too high.
Button -
Will have to modify the step, need body moved 1 1/2 " to the left.
Button -
A 5 inch kick-up in the frame that I will remove. Will lower the front of the body .
Button -
Clamped together, a little more adjusting then start welding.
Button -
Grill is powder coated.
Button -
Body has 4 more inches to come down but is now hitting the transmission, more modifications to do.
Button -
Had to remove more of the firewall than I wanted to, need to remove a little more on the right side.
Button -
Made a new defrost ducting to replace the rusty one.
Button -
Painted Parts
Button -
Different heater, art deco styling from a 49 Hicks bodied bus
Button -
frame extension welded on
Button -
Front cowl mounts modified, moved inward and up
Button -
Firewall and trans cover completed
Button -
New skin on the rear door
Button -
Final fitting of side panels and moldings before paint, all holes drilled for final assembly.
Button -
New panels riveted on final time, moldings next.
Button -
Rebuilt door installed
Button -
Rear side door ready to install.
Button -
First cuts for extending fenders 3 inches
Button -
First 3 pieces tack welded in place
Button -
Wheel opening will be smaller, but will still fit the tires.
Button -
Starting on driver side.
Button -
Trying to keep the natural curves
Button -
Will almost look factory when done, few more welds to do.
Button -
Fits the tire beautifully, opening is 2 1/2 inches shorter, but looks stock.
Button -
Final side panel installed, molding s next.
Button -
welding done, a little more metalworking, then thin coat of filler.
Button -
painting a lot of small pieces
Button -
Start fabricating last missing wire cover from flat steel, rough shape
Button -
Almost done, a little more adjustments.
Button -
Trial fitting all wire covers and window channels, finding a few stripped holes before paint.
Button -
Heater all wired with light-up toggle switches.
Button -
Heater is actually out of a 1949 bus, a lot prettier than the original 51.
Button -
Color on more trim pieces.
Button -
All side moldings riveted back on.
Button -
Starting to add color to interior.
Button -
Primed and ready for final sanding then color.
Button -
Will mask off from the rain gutters to paint the roof, doing it in sections to avoid overspray because of its size.
Button -
Interior painted time for wiring and assembly.
Button -
More parts painted
Button -
Engine control panel mounted with the computer mounted behind.
Button -
Gauges installed, firewall insulated
Button -
Cowl vent mechanism cleaned, painted, installed
Button -
Cowl/dash re-mounted to body for final time.
Button -
Double rubber seal between cowl and body to keep the weather out.
Button -
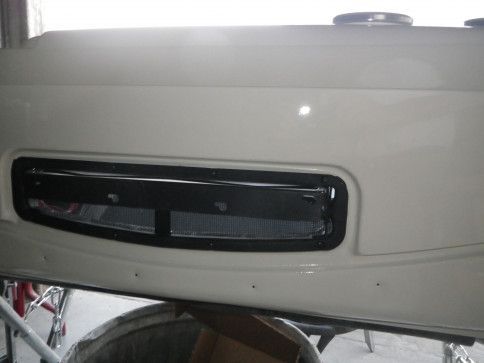
Rear roof light housings painted, ready to mount.
Button -
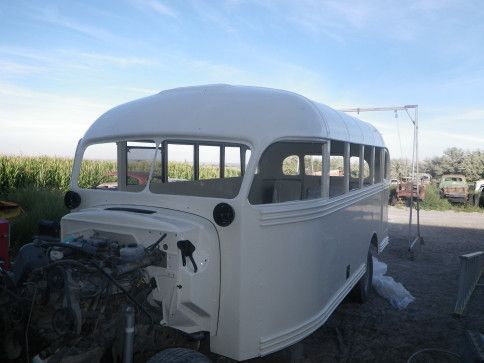
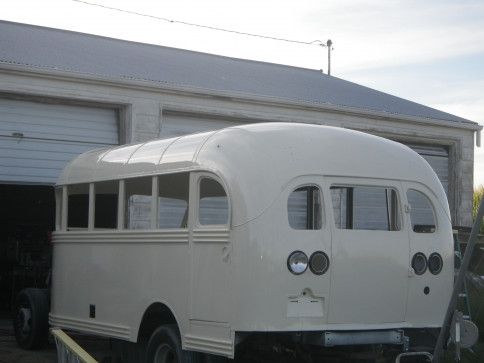
Roof all painted, even got the first window mounted.
Button -
Weather finally cooperated to finish painting the roof.
Button -
Heater set in place to drill holes for mounting and hoses.
Button -
About 30 more wires to add, this is just for the computer controlled engine and trans.
Button -
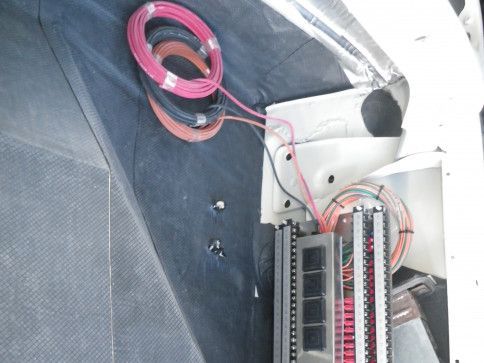
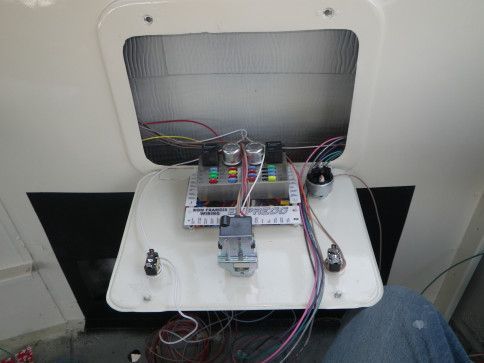
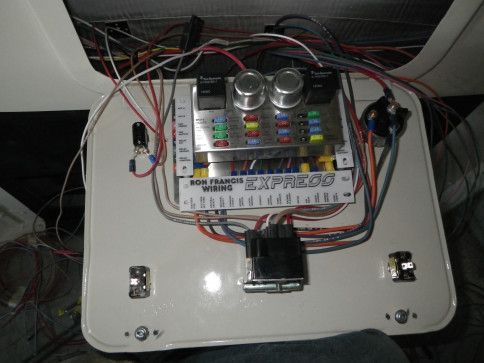
Fuse panel, lights, etc.. for rest of bus.
Button -
Almost done, a few more wires to route
Button

Copyright © 2023 Dream Ride Builders, all rights reserved.
2872 E. 3400 N, Twin Falls, ID 83301 (208) 324-1073
© 2024

